
In this my final post of 2025, I’m showing the techniques I used to mend and restore my daughter’s cashmere sweater.
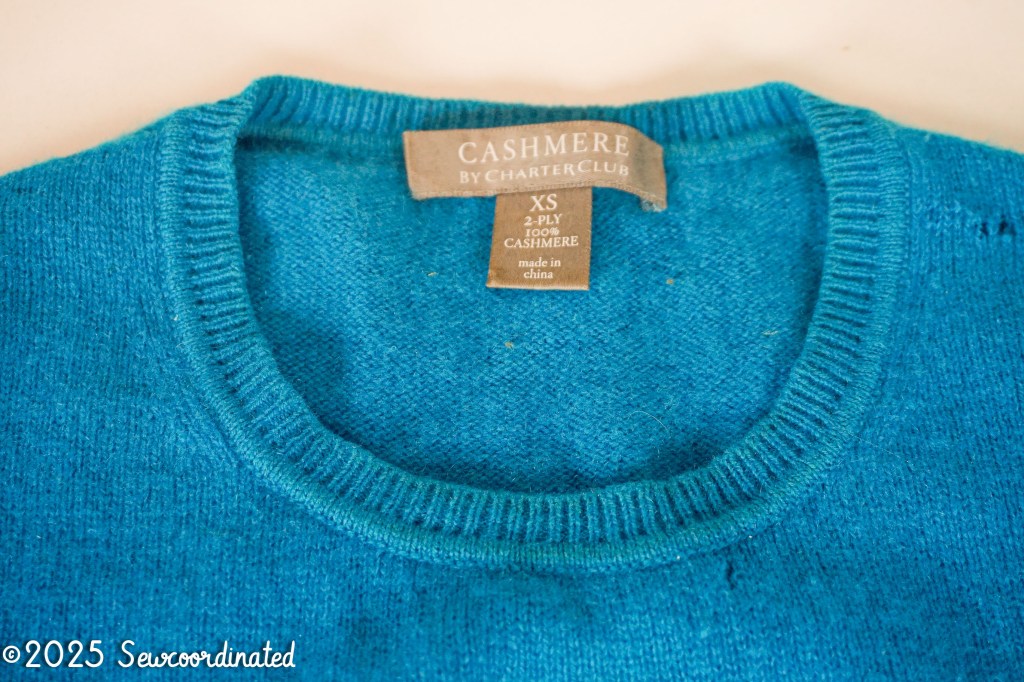
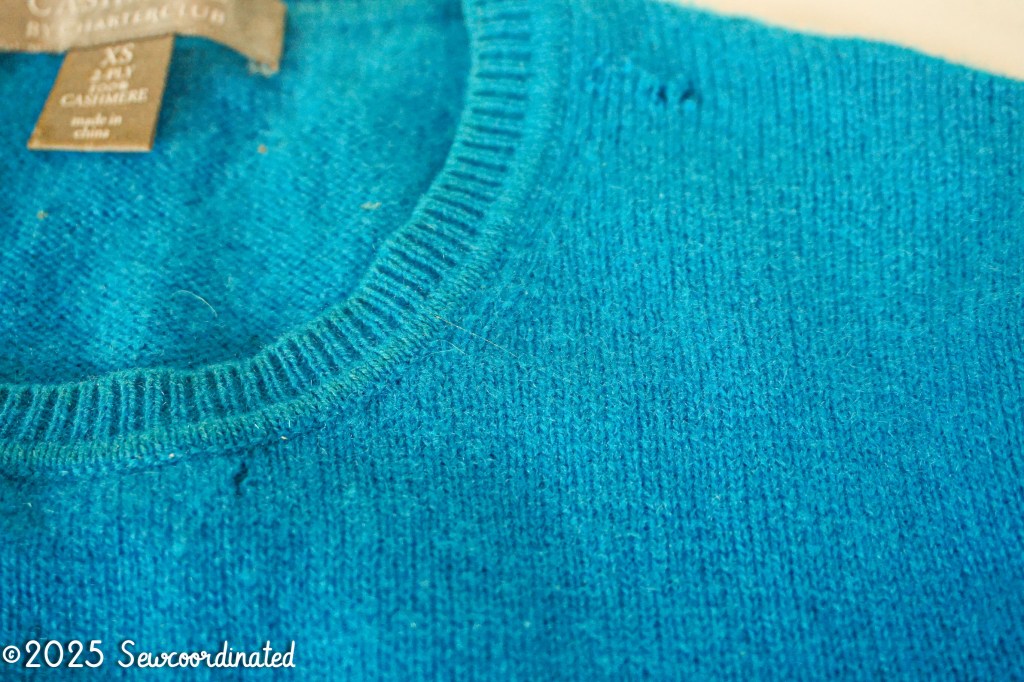
The sweater is 100% cashmere, and was bought from Macy’s about 12 years ago. It was only worn a few times before it began to show signs of wear and tear. It quickly became unwearable, and sat unworn for a long time until last March. I’d planned on mending it during the Mend March event, but never got to. It wasn’t a casual repair that could be done in a day or within the time frame of the event. It was a major repair project, as it has moth holes and wear to the cashmere itself. I then placed it into the dresser in my sewing room where it would sit until November.
While looking through the things in that dresser: yarns, fabrics, patterns…I opened a drawer and once again saw the sweater. Nostalgic thoughts went through my mind: how it meant so much to her to buy her first cashmere sweater and how she didn’t get much wear out of it. It was then and there that I decided to repair it in time for her birthday.
I knew I’d need some help with making the repairs though. I bought a mending loom for this reason. but then it was delivered to the wrong address, and I had to wait almost 2 weeks to get it back.
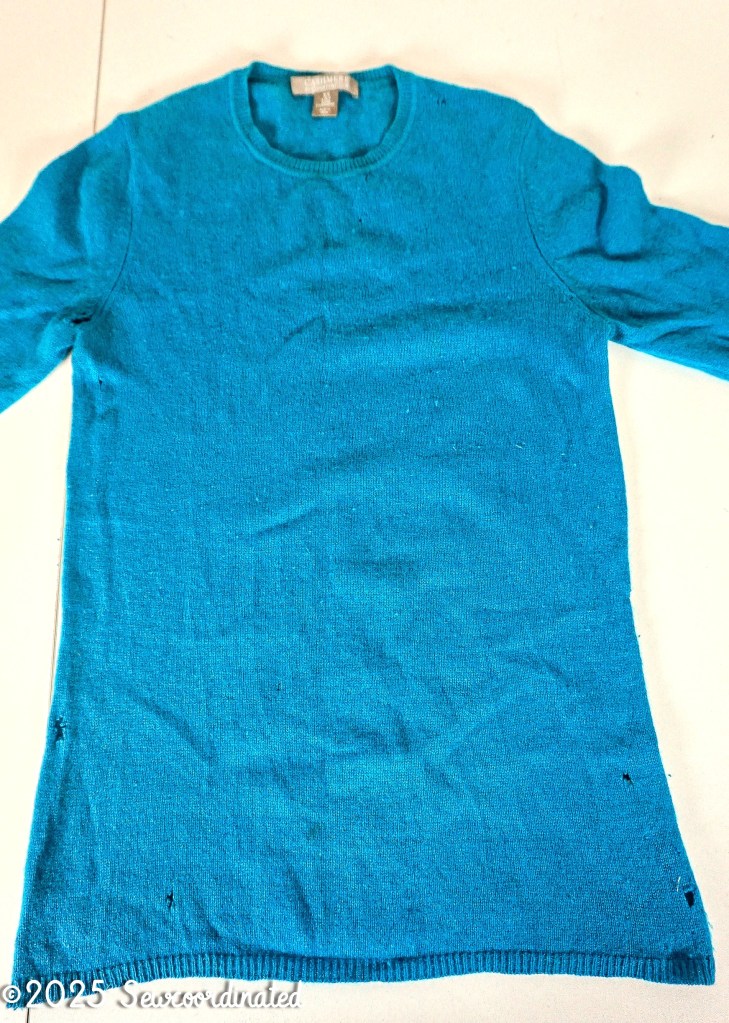
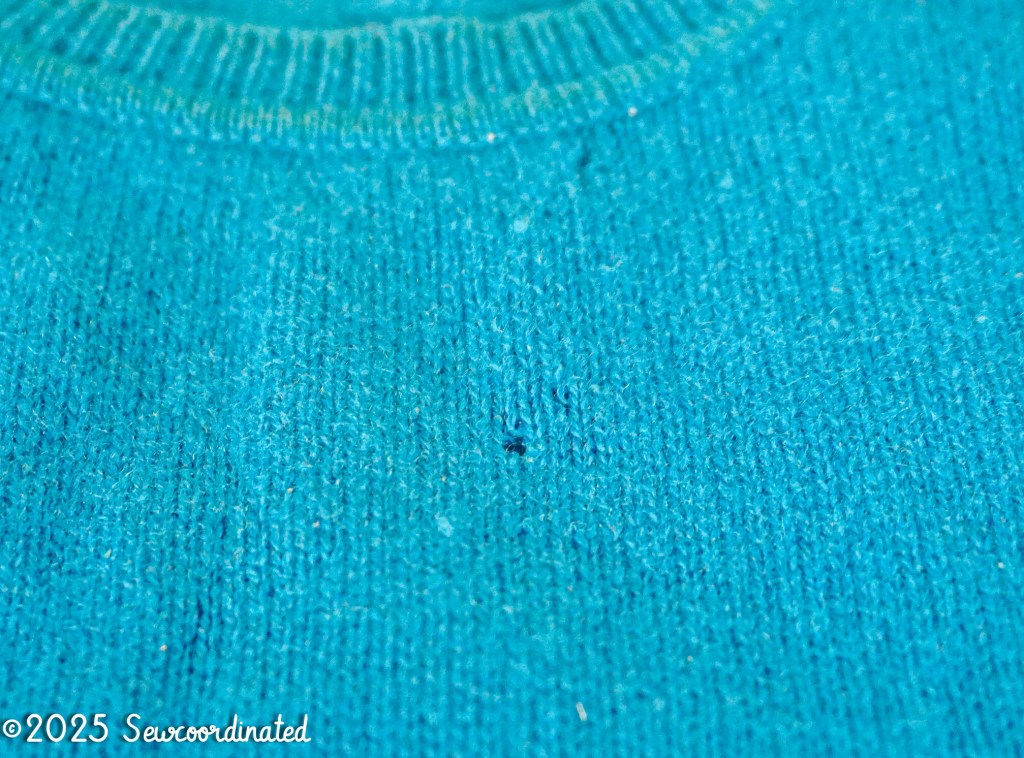
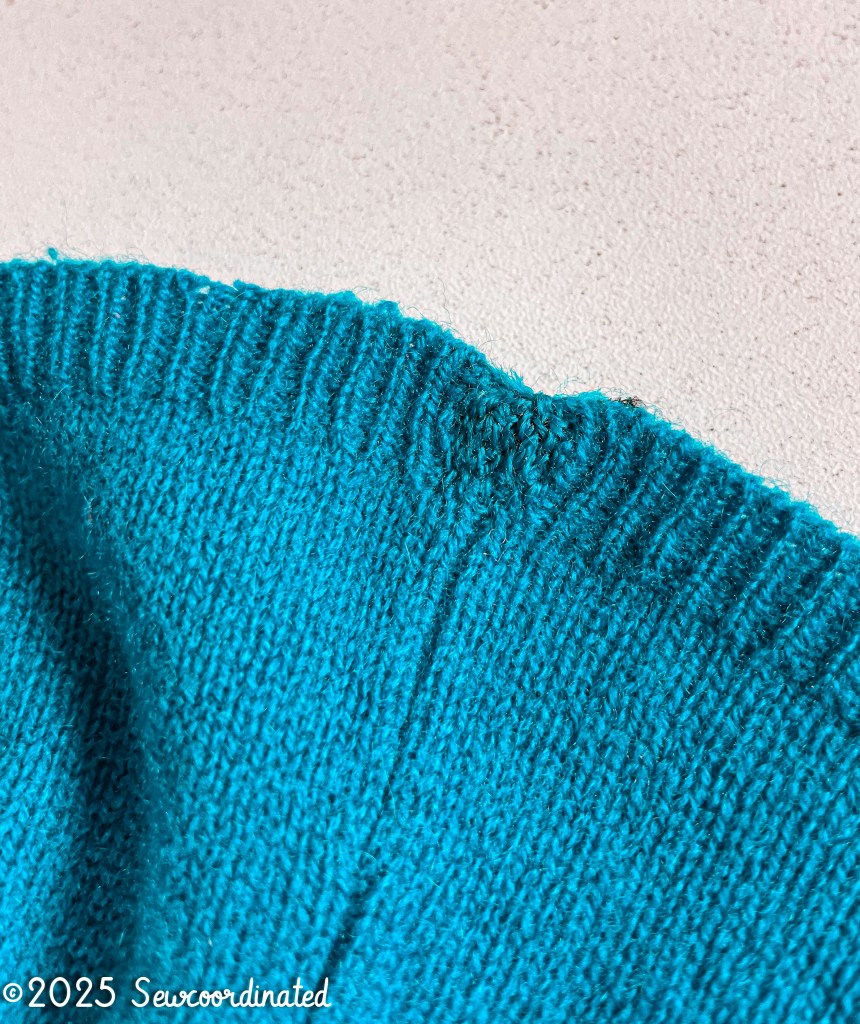
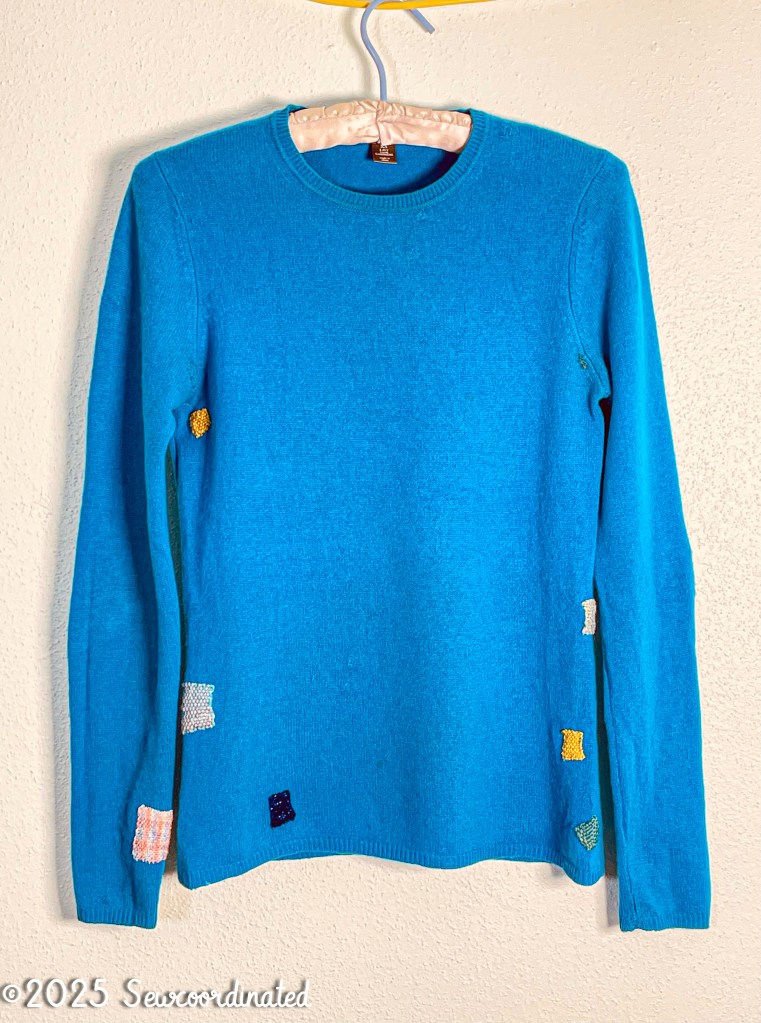
The Before Pics of The Sweater
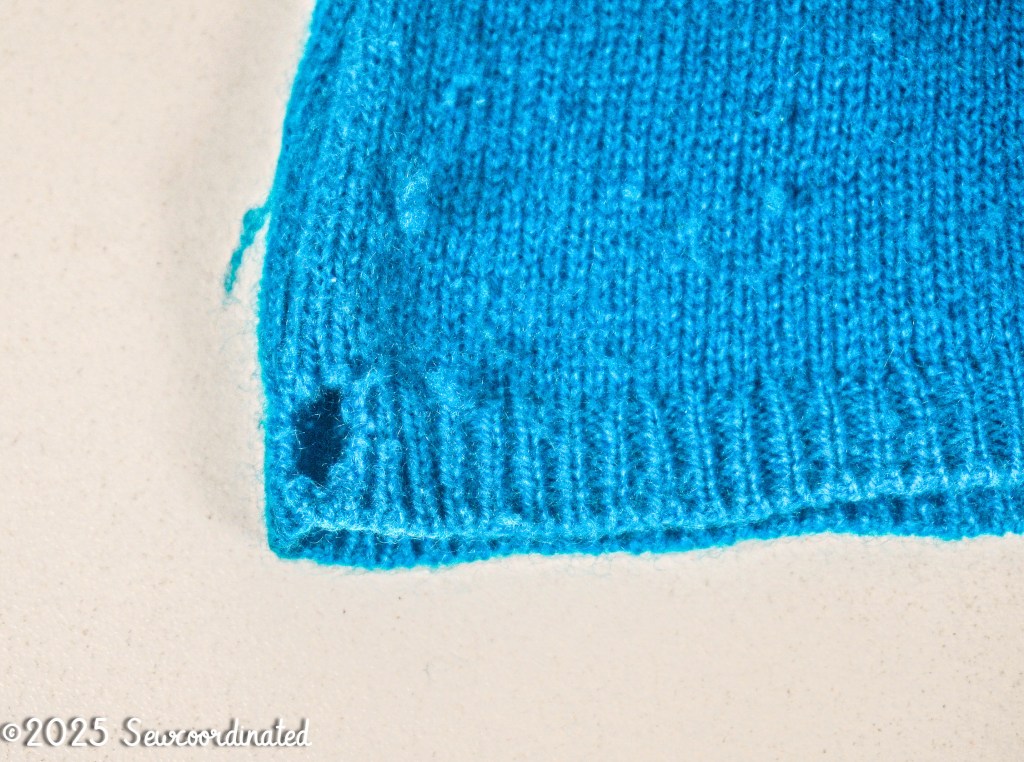
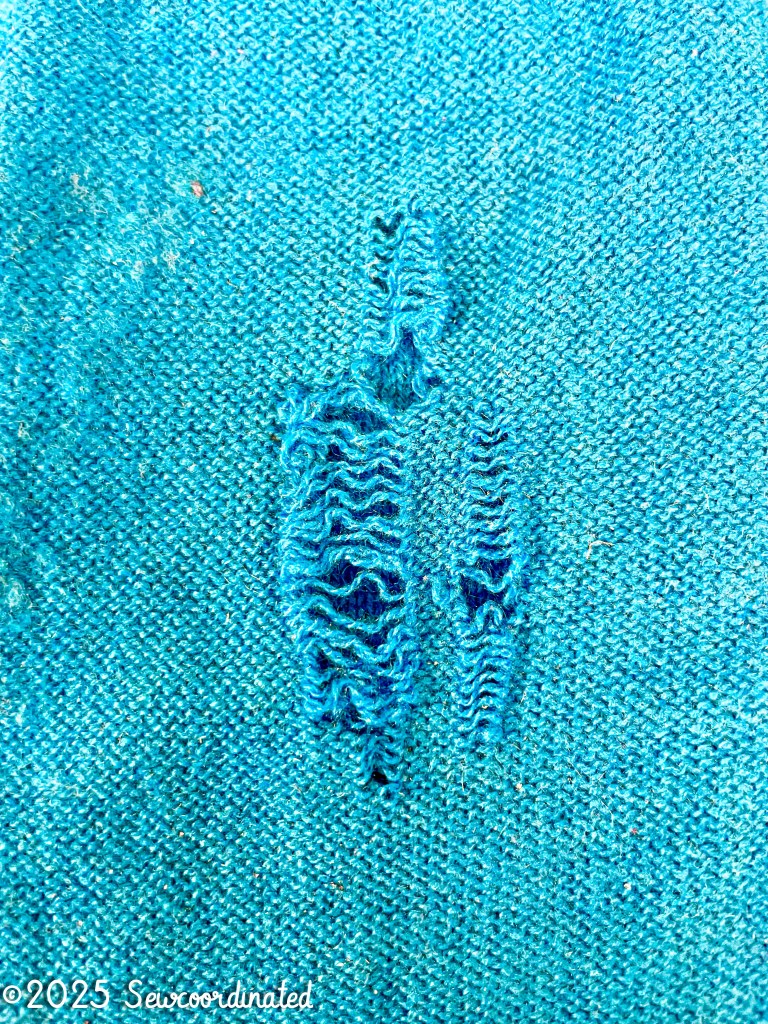
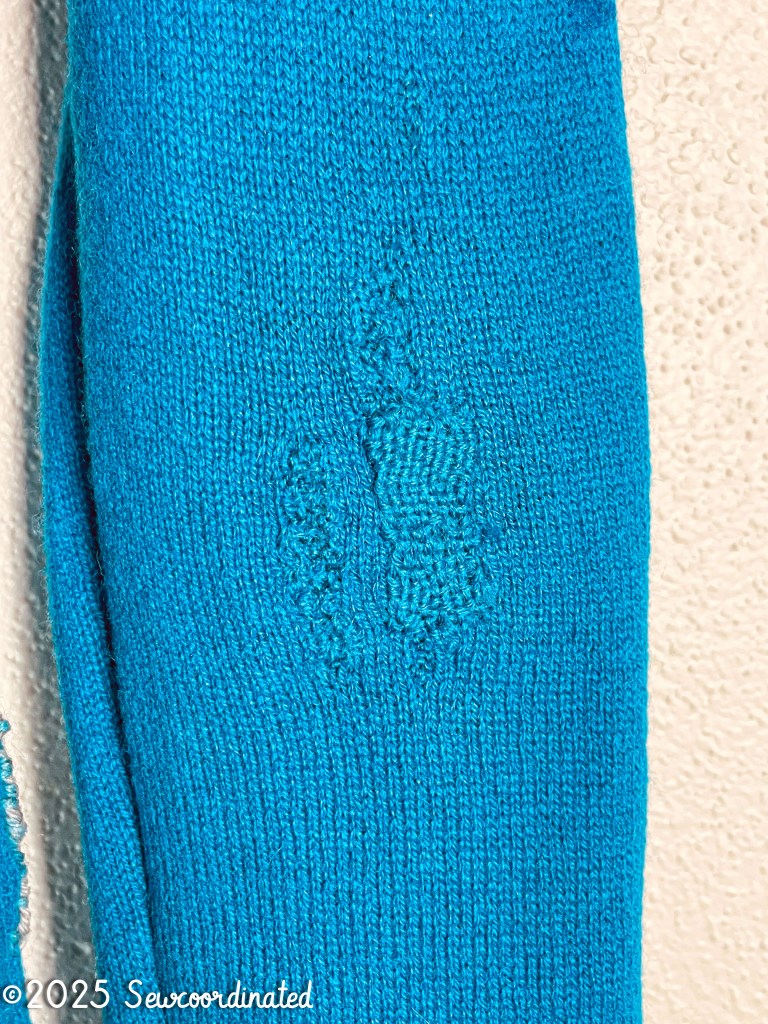
I took a lot of pictures of the sweater in it’s pre-repair condition. It was difficult to get the color to be true in every pic. The sweater is turquoise, but looks bluer in some pics due to differences in lighting.

The Restoration Details: Beginning
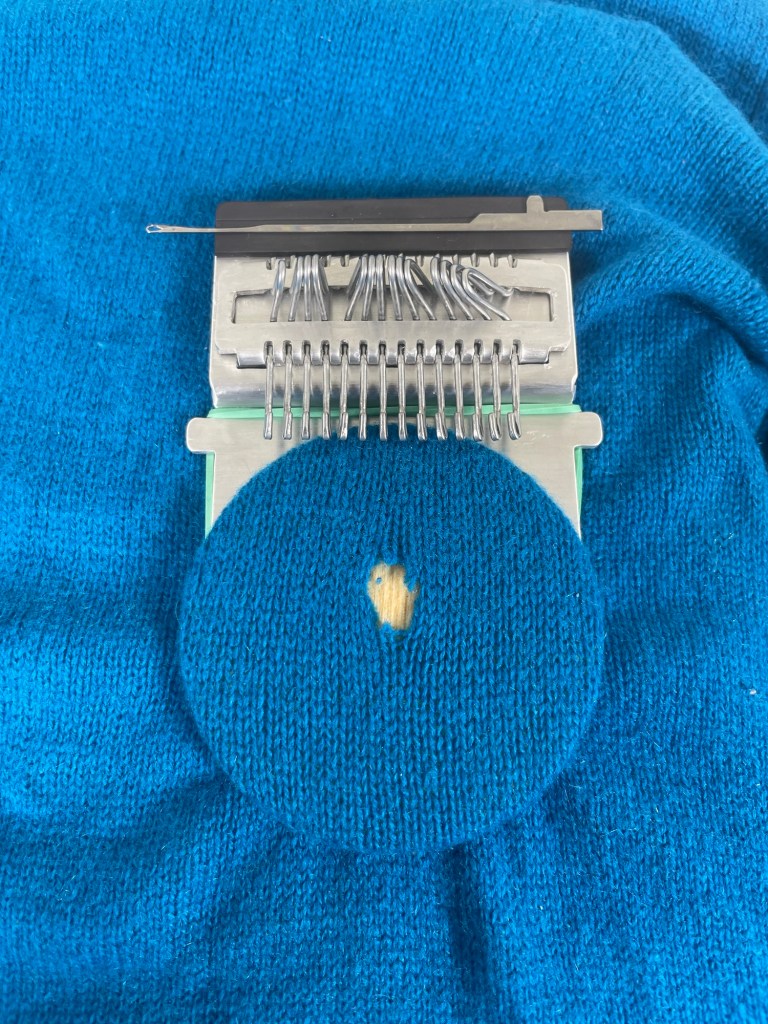
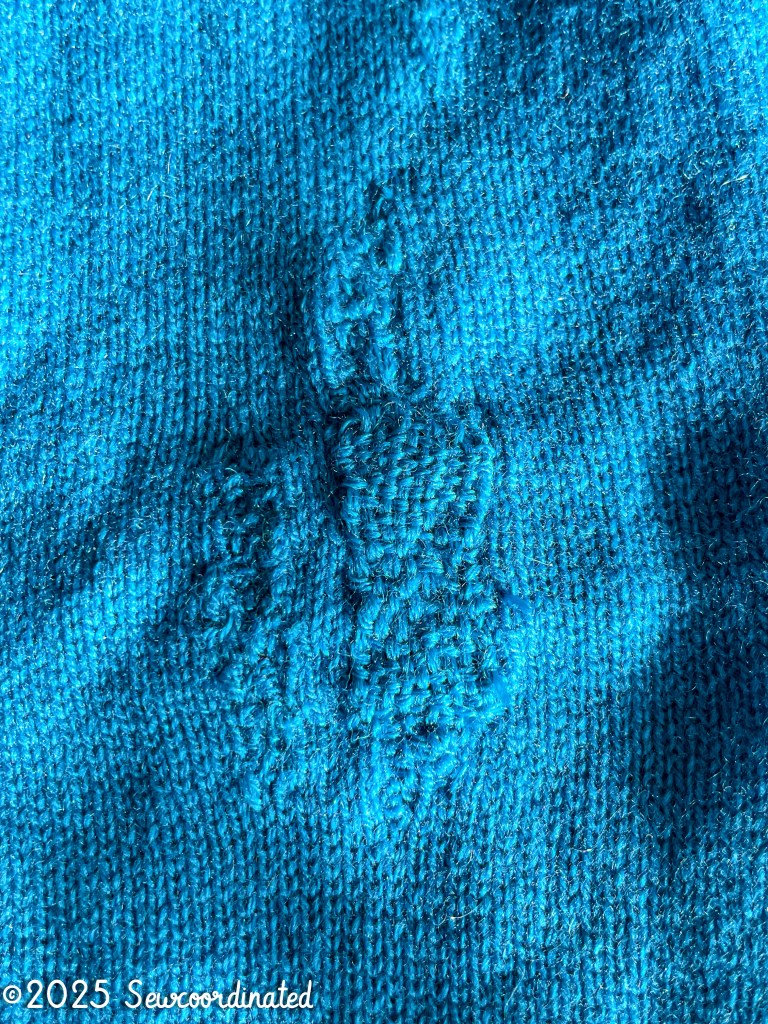
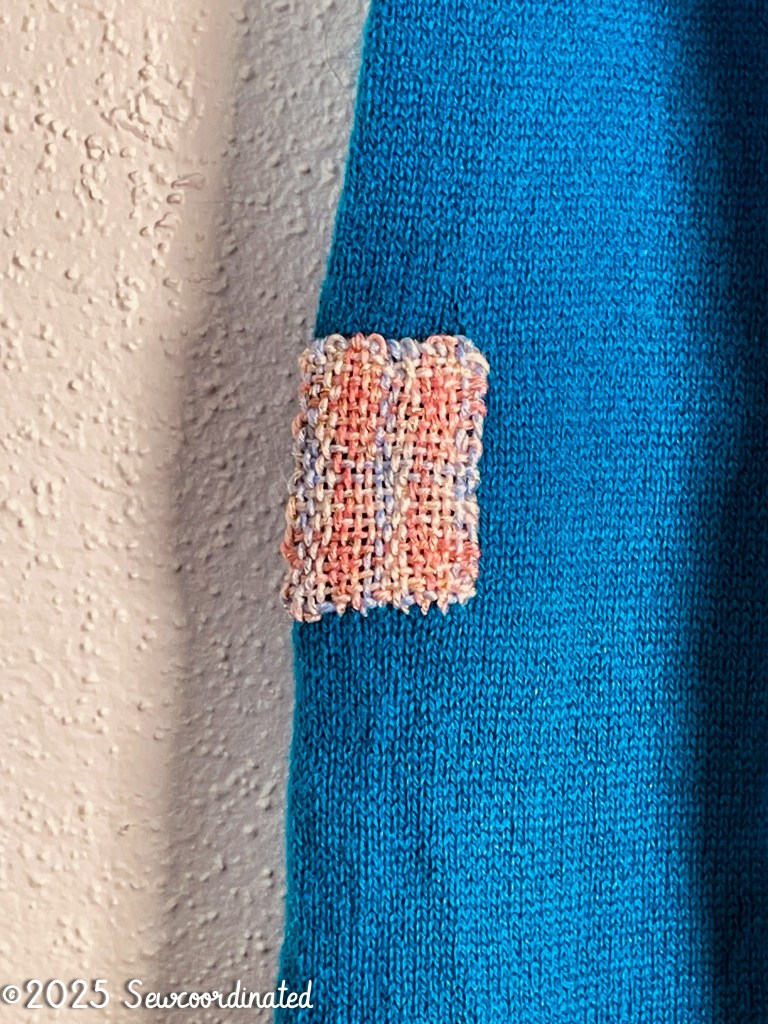
I began by using my new loom to cover some of the holes with woven patches. The loom is great and built for that. This part of the restoration was fun – I really enjoyed learning to use my new loom. It made the mending enjoyable because it held a steady warp securely. I flew through the work and hardly took any pictures because I was behind on my schedule of getting the job done on time. For these patches I used sock weight yarn, both wool and nylon. And while it’s light weight yarn, it’s heavy for a sweater such as this, which is knit out of very fine thread. I did manage to take 2 pics:

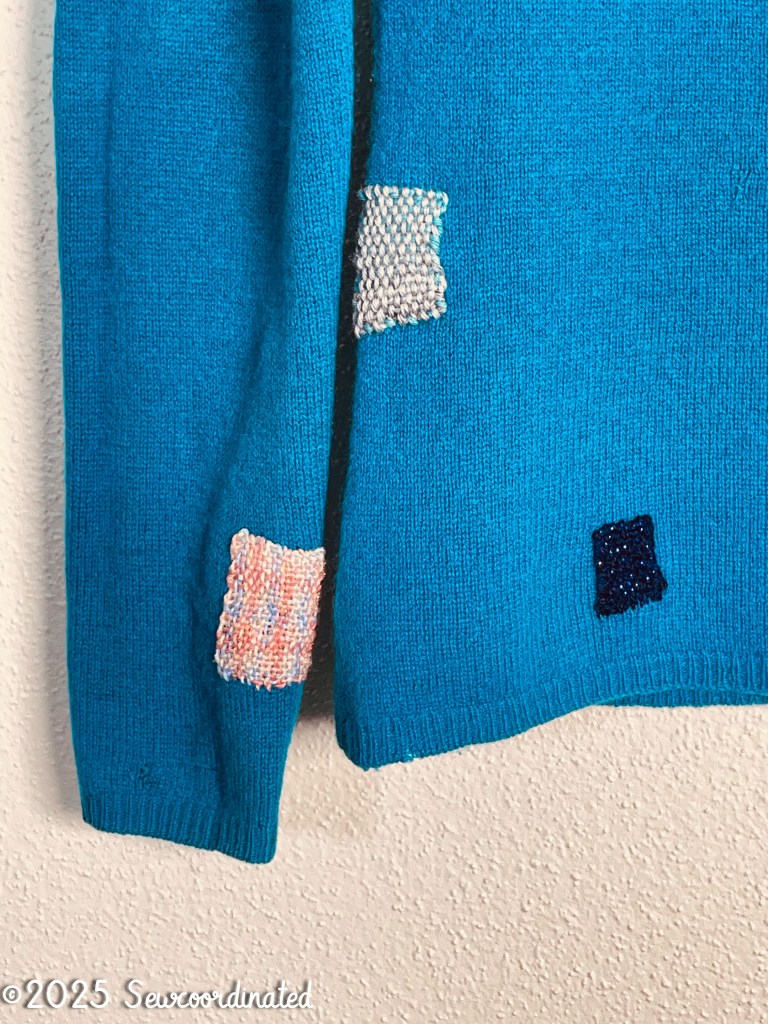
The Restoration Details: Beyond The Woven Patches
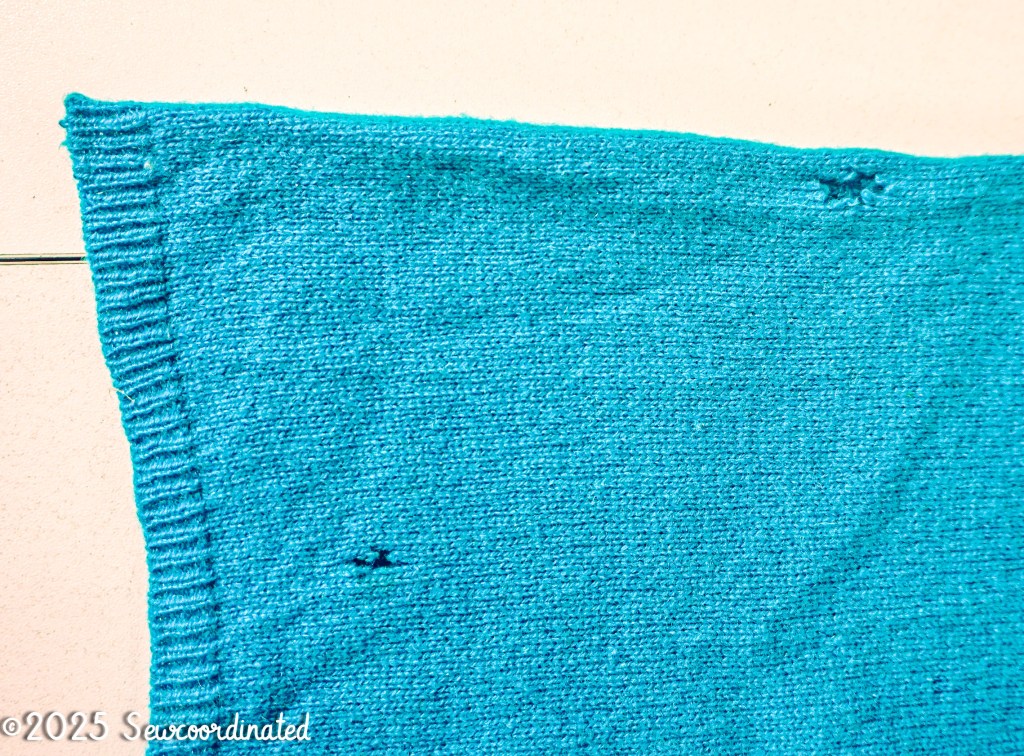
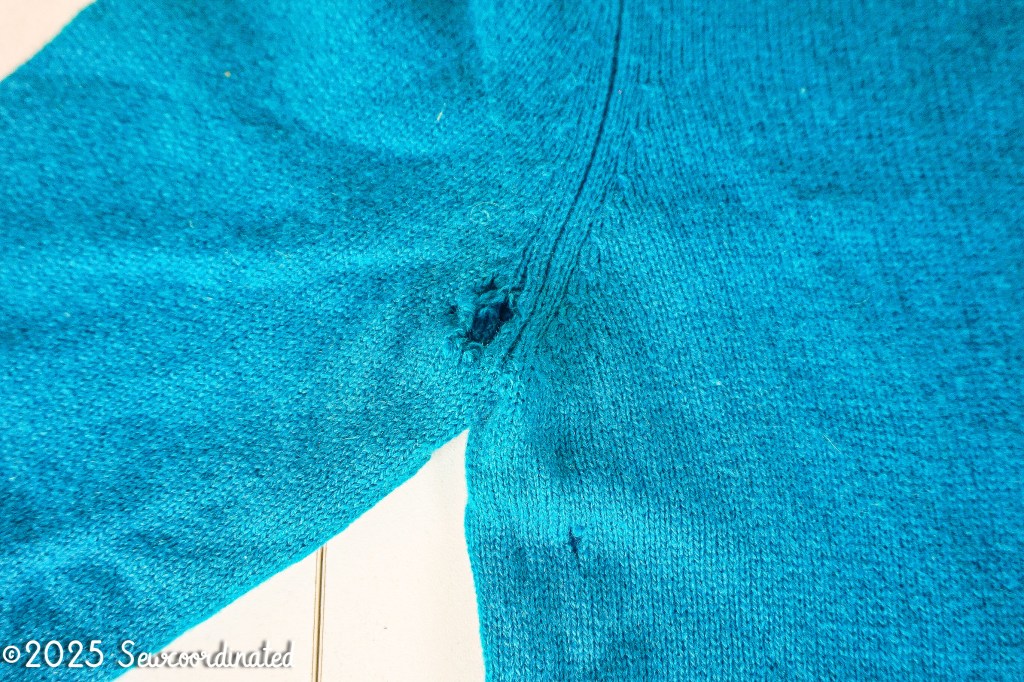
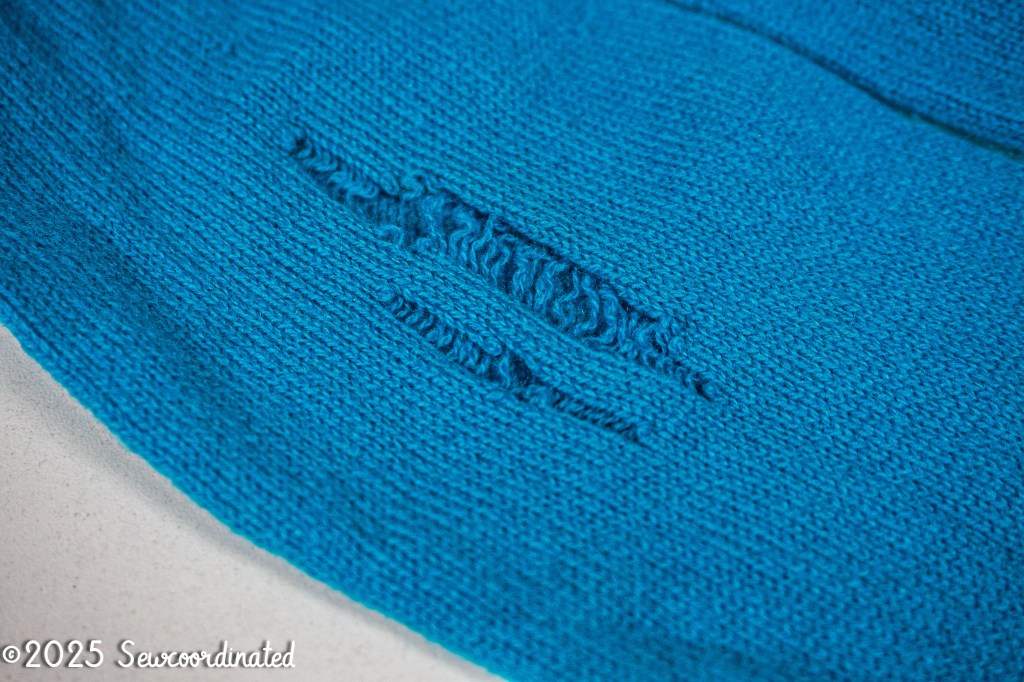
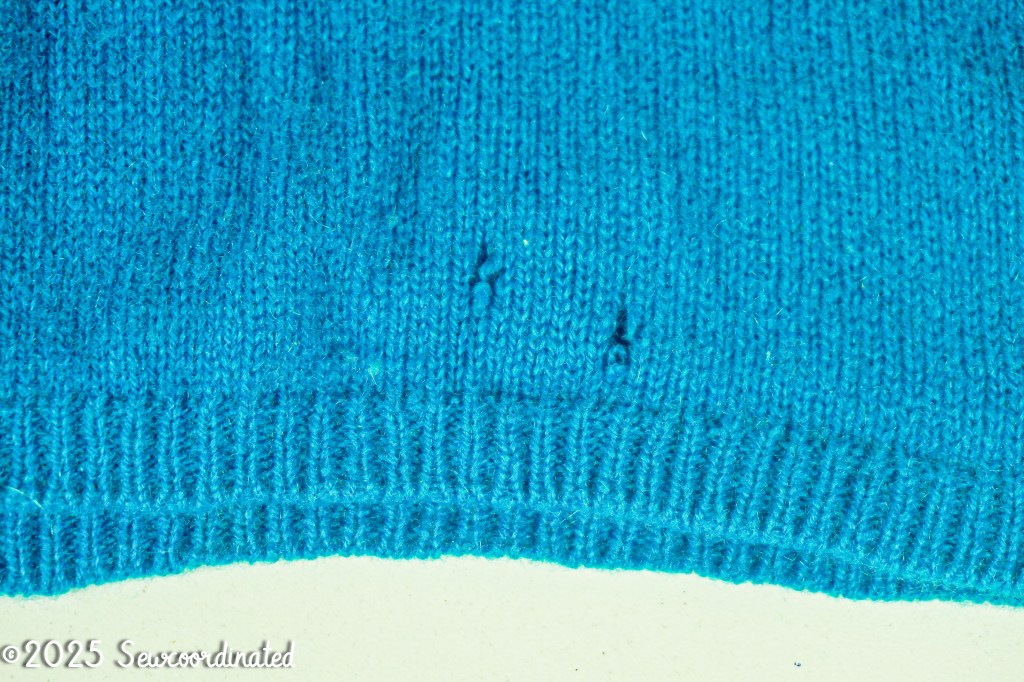
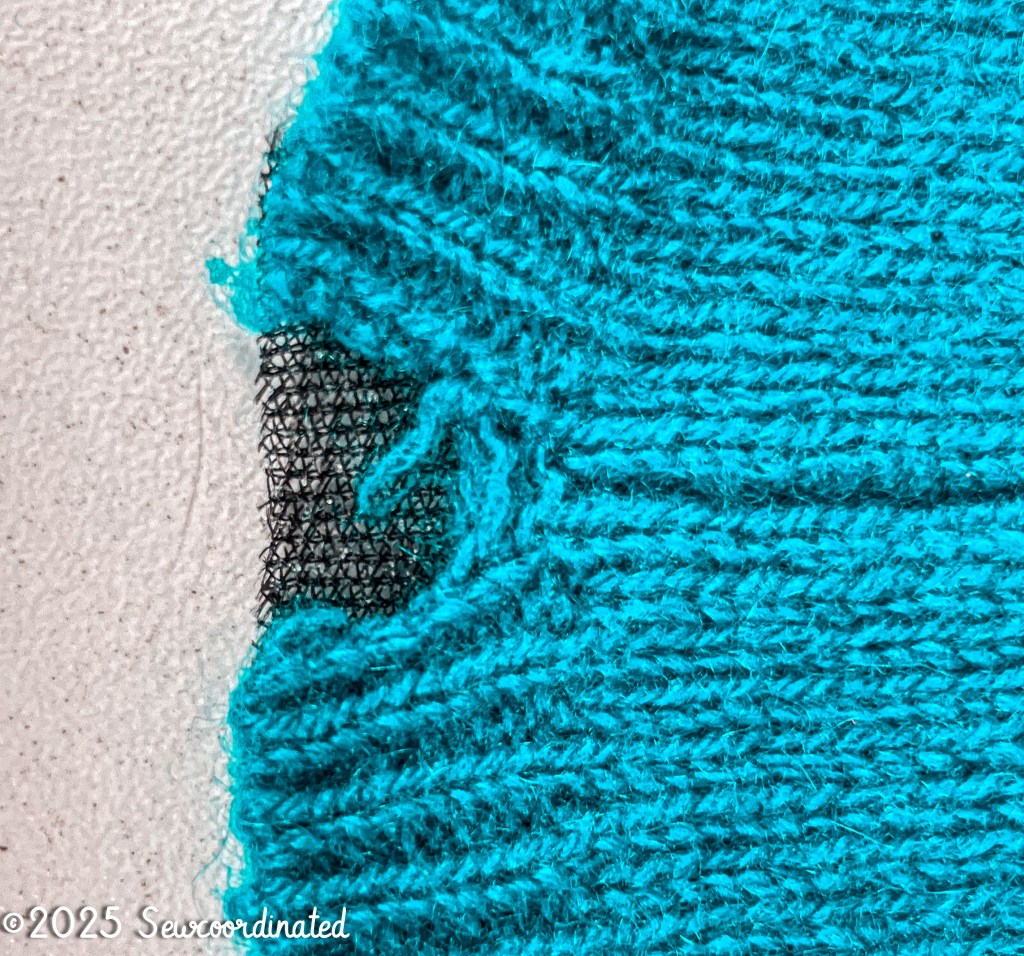
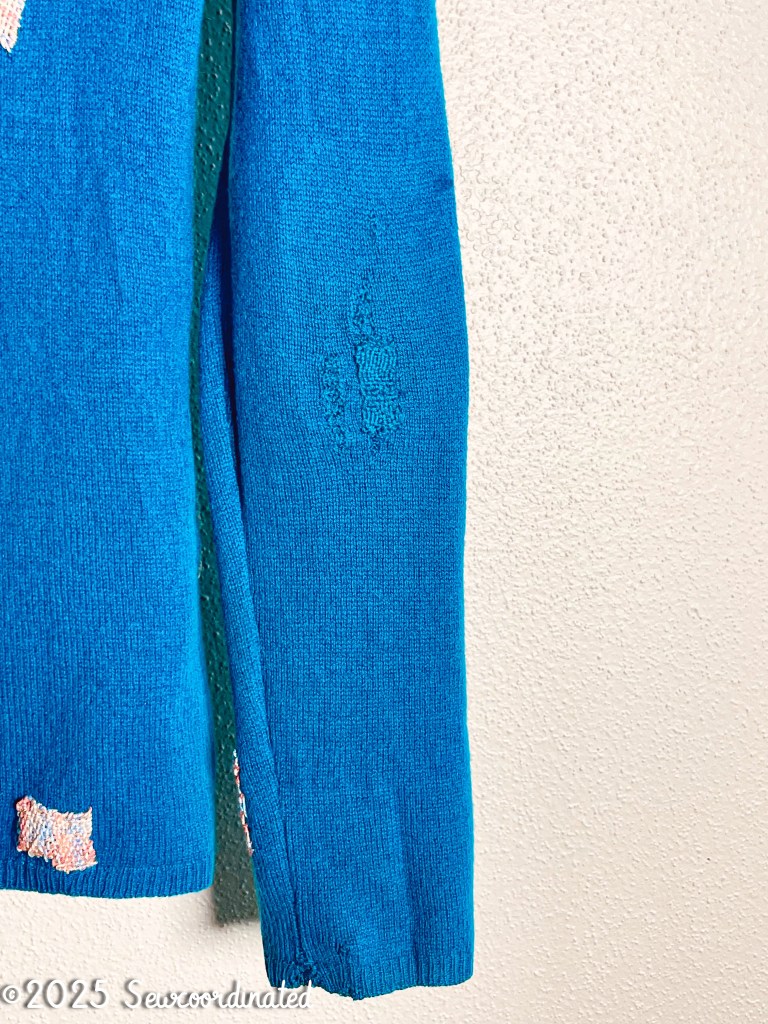
After mending several holes with the patches, I had to solve the problem of how to mend the more deteriorated areas of the sweater. I’m talking about the split hem at the edge of both the sleeves and side seams on the bottom hem of the sweater (see pics above).
At first I really had no idea how I was going to mend these areas. The loom would be awkward in areas like this that had no fabric below it. It was at this point that I decided I needed finer thread to do the mend with. The heavier wool I used for the patches just wasn’t gonna make the grade for these delicate mends. I ordered some fine 2 ply darning yarn from Amazon for this. They had the perfect color, and it would arrive before her birthday.
How I Solved The Problem
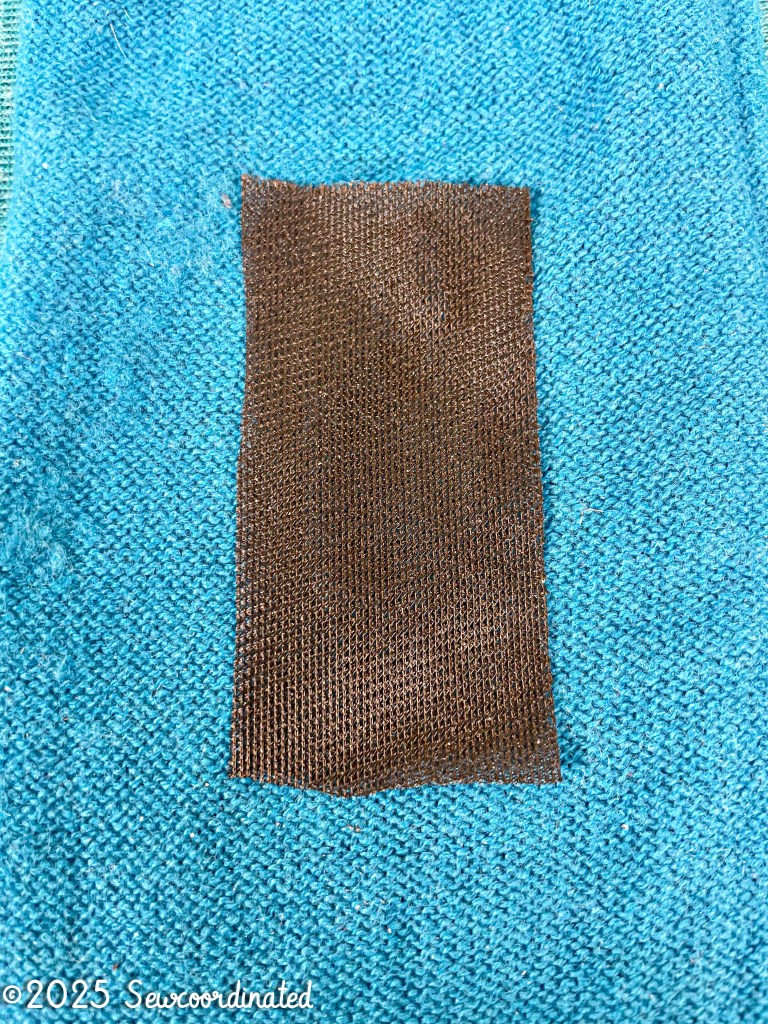
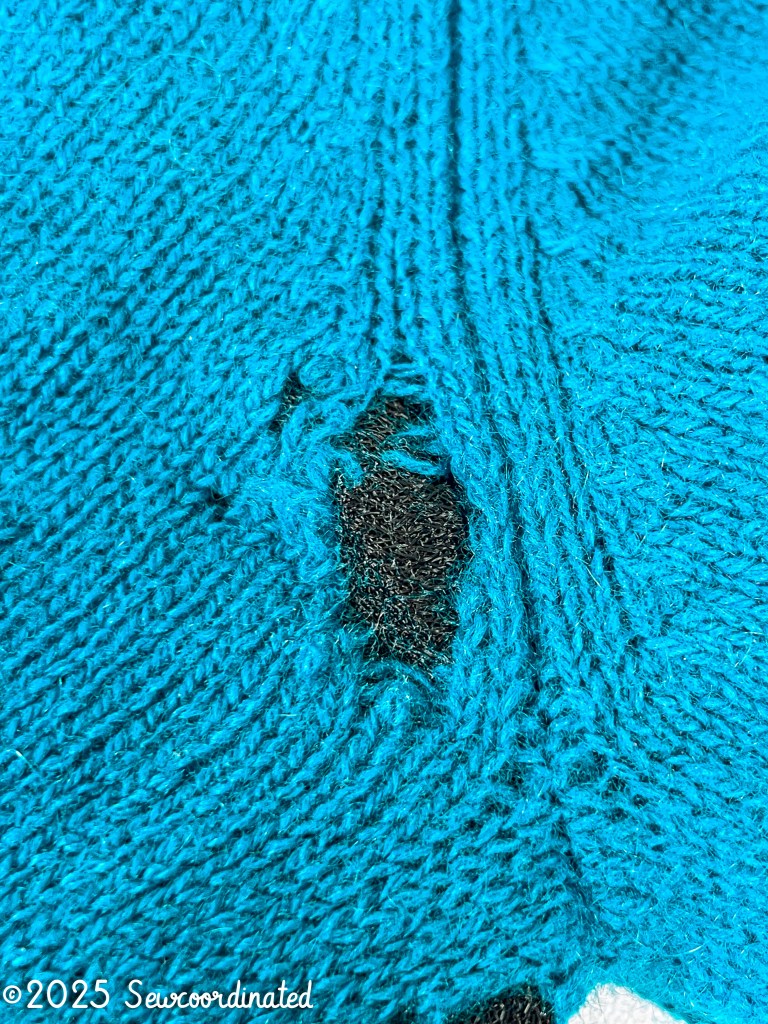
While waiting for the yarn to arrive, I had some time to think about how to do the difficult mends. I came up with a good idea: use small pieces of fusible interfacing to shore up the knit fabric in those areas. I looked through my interfacing stash and found some black stretch knit fusible. I cut the pieces to the mend sizes and fused them onto the cashmere. It worked! The fabric was now stabilized:

Mending The Fused Knit Fabric
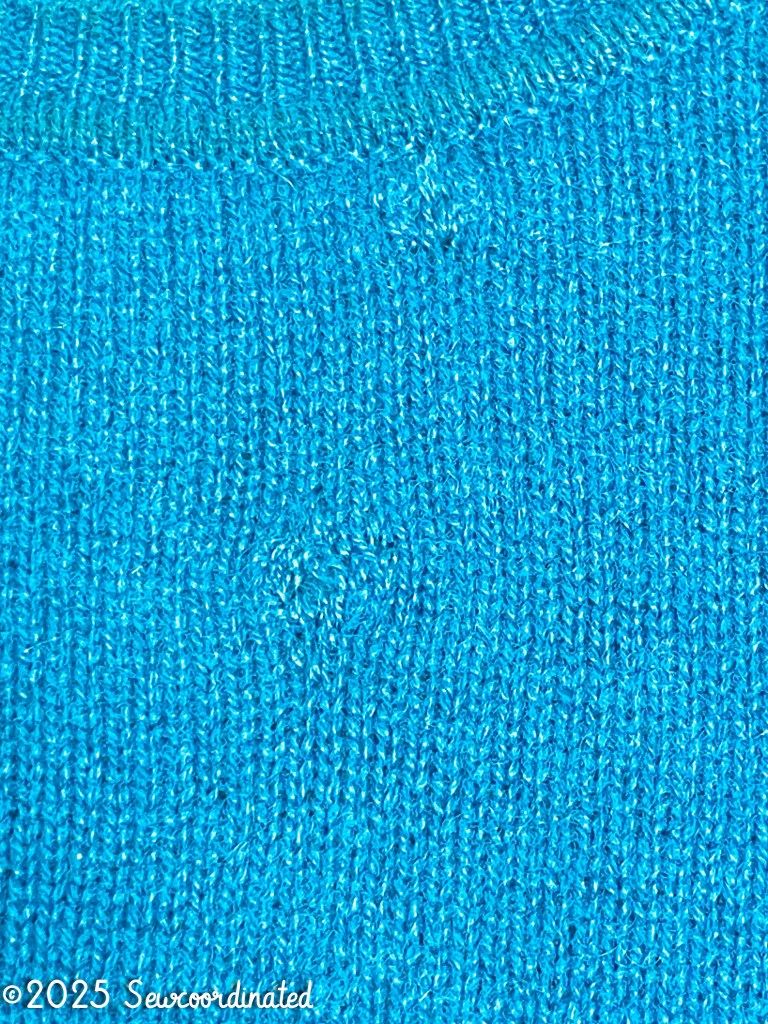
Now that the knit was stabilized, it was time to mend. I began with simple stitches to fill in the space bridged by the interfacing. My goal was a more invisible mend for these areas. Since I had a perfect color matched yarn, I wanted these mends to look more seamless.
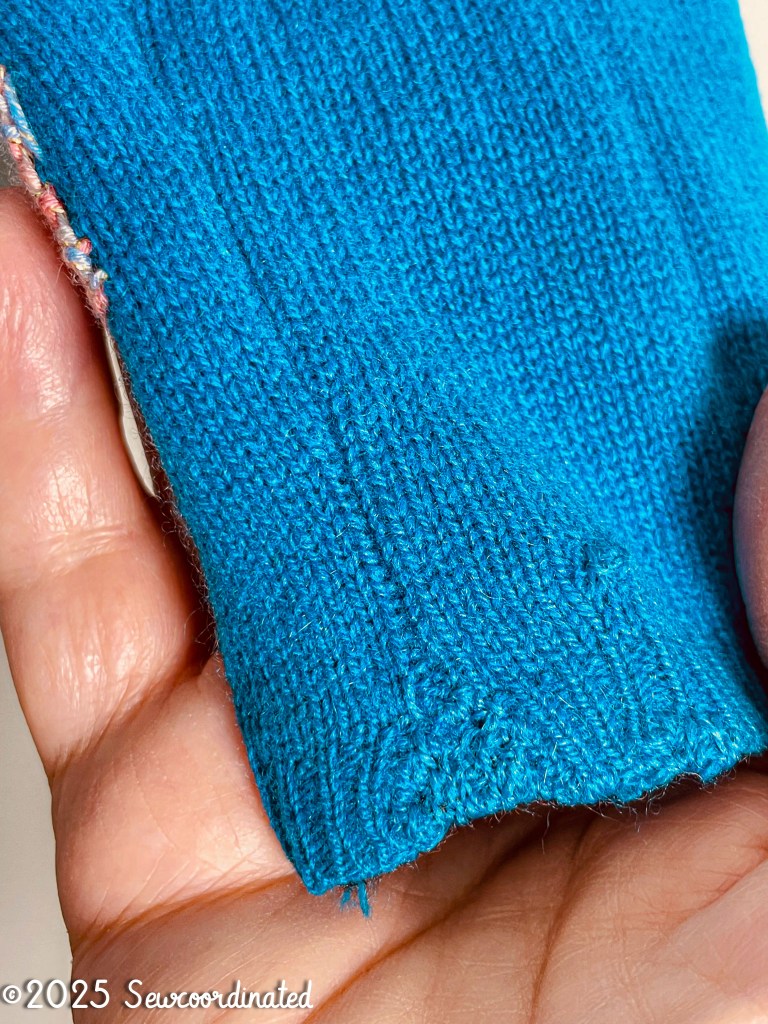
The side seam hem:
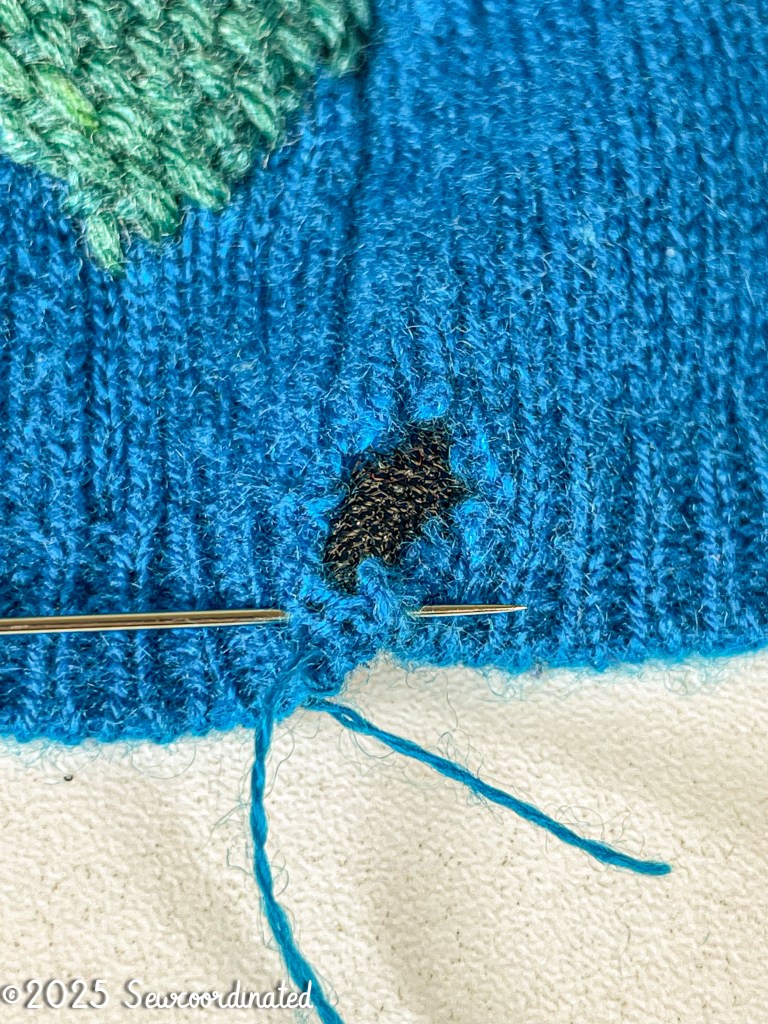
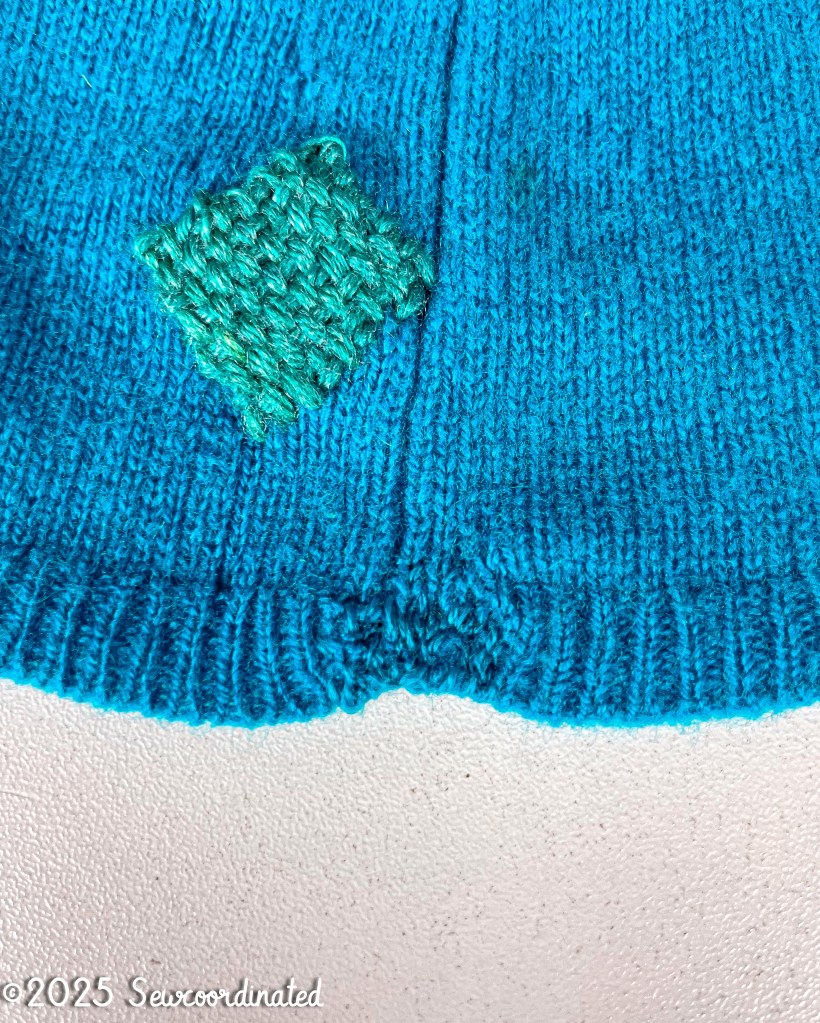
And the mended side seam hem:
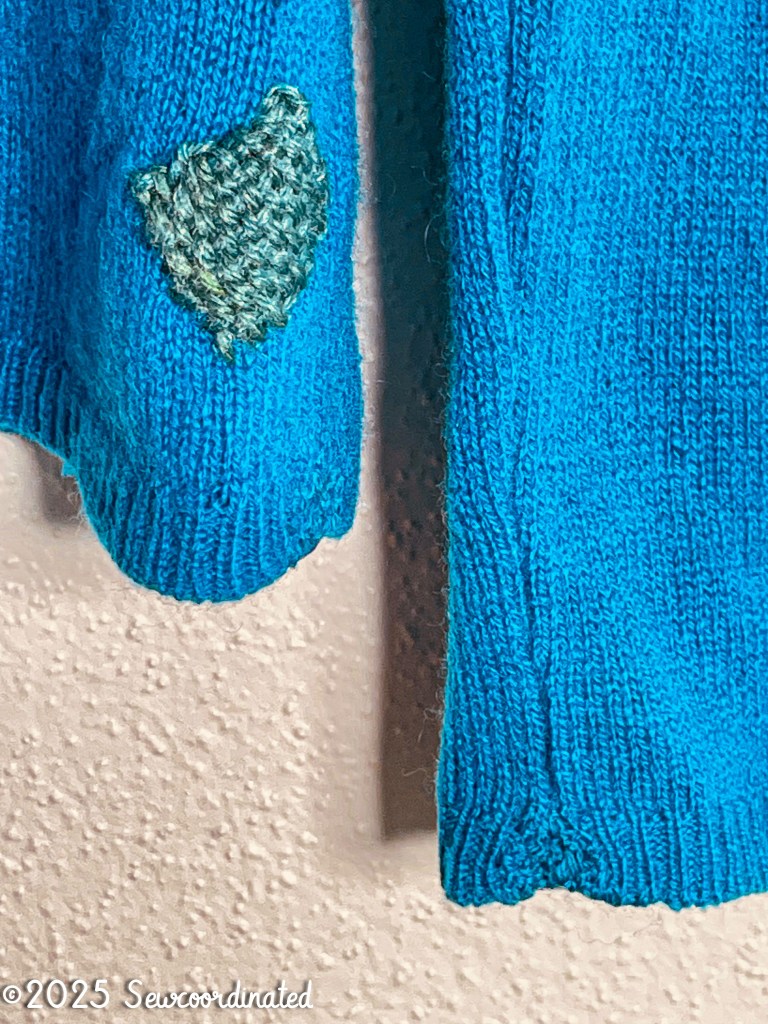
And what about that long vertical run? It got the same treatment, but I doubled the yarn because there was so much more space to cover.

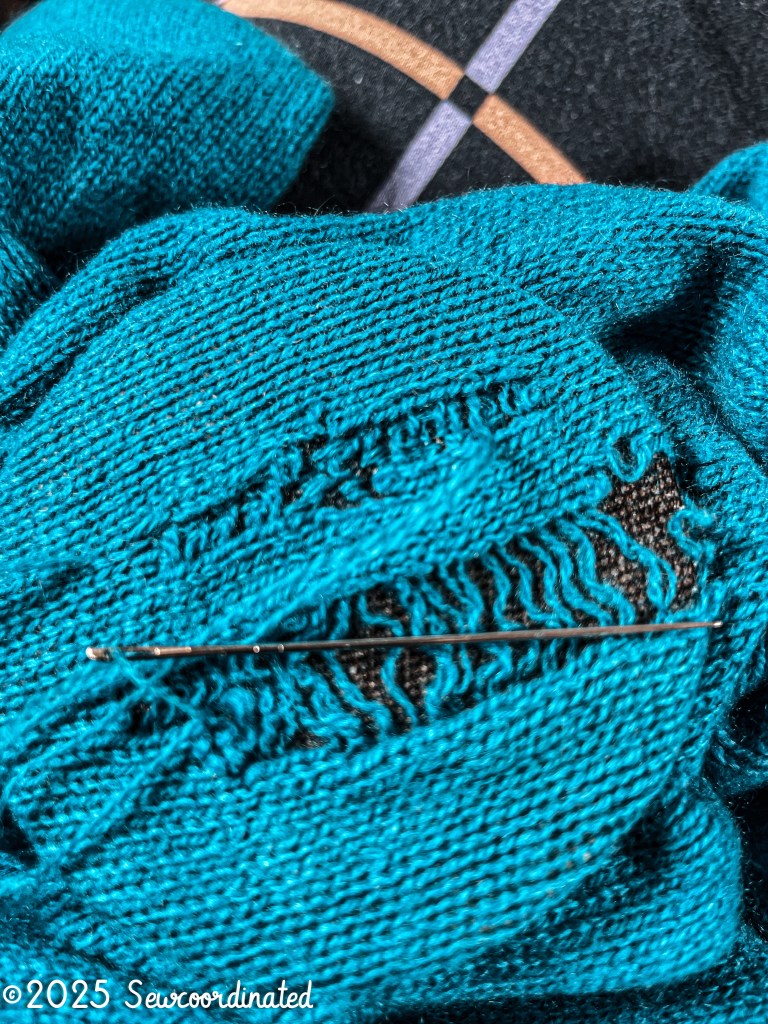

It was tedious work to fill in the run by hand, even with doubled yarn. It was a humungous space to do a fine mend on. I decided to use the mending loom to work a patch over the larger side of the run, seen below.
Lining The Larger Mends
I wondered about the comfort of the fusible against the skin, and I was also concerned about it’s durability over time if left uncovered. I knew that it should be lined but how? I didn’t want to stitch it because the outline of stitches would probably be visible from the outside. Once again I turned to using fusible interfacing, this time double sided. Double sided fusible would adhere to my pre-cut lining pieces and to the 1 way fusible at the same time. For the lining pieces I chose some thin micro modal knit from my stash. That would make a good cover for the fusible without adding bulk:
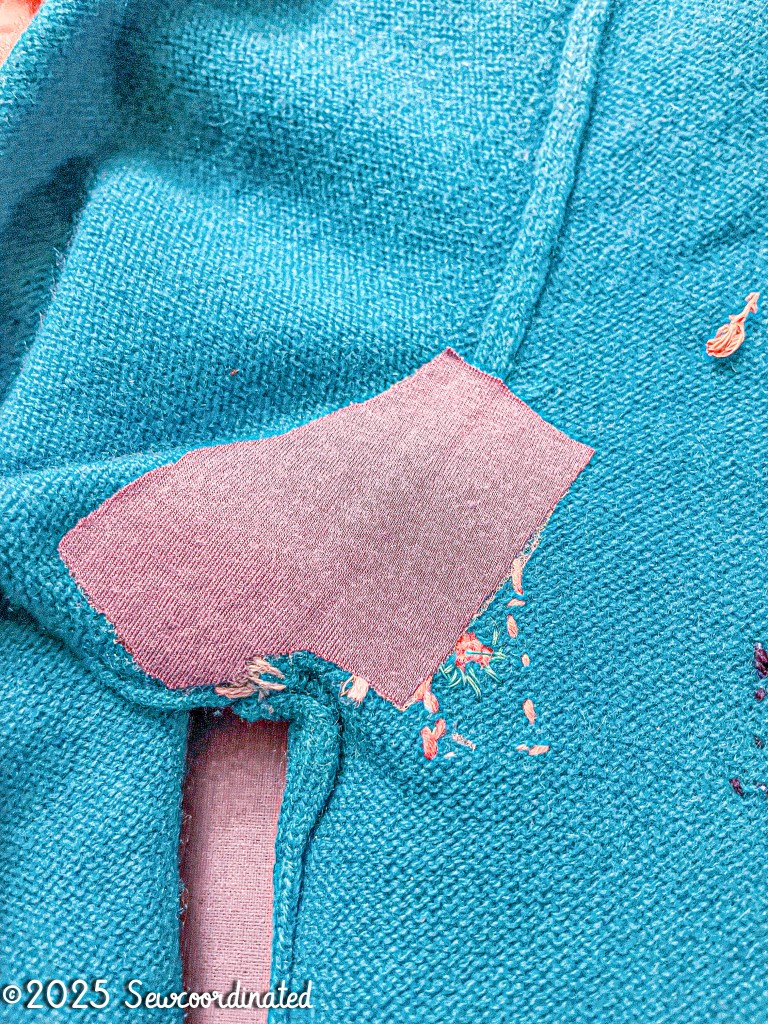

I’m very pleased with how the lining came out. The top pic has the look and drape of scuba fabric.
The Finished Restoration
Lastly, I de-pilled the sweater.
And…..the restored cashmere:

Got the main parts done in time for her birthday, but still had to mend a few small pinholes. She was surprised and happy to receive it as a gift, as well as curious about the patches and the yarns I used to weave them. It still fit her, which was nice! The fit was quite snug though, which had been a concern of mine from go. It’s an older garment in size XS and our bodies can change over time. I’ve since taken a clothes steamer to it and that seemed to relax the wool. It now fits her better.
Whew! That was a long post. I hope you liked it and got some ideas for how to tackle challenging mends.
Being that this is the final week of the holiday season and year, I’d like to wish you all a Happy New Year. Cheers!

Very cool! Btw, silk is a good fibre for mending cashmere, it doesn’t tear the cashmere. Looks like a fun mend and it looks really great now!
LikeLiked by 1 person
Thank you so much!
LikeLiked by 1 person