I’m reviving my 2014 post showcasing my vintage wooden ironing board. It’s one of the most popular posts on my site. Once again it needs a new cover , so I thought I’d share some update pics now in 2025 taken with a better camera than the one I had back then.
I still use this board as my main ironing board.
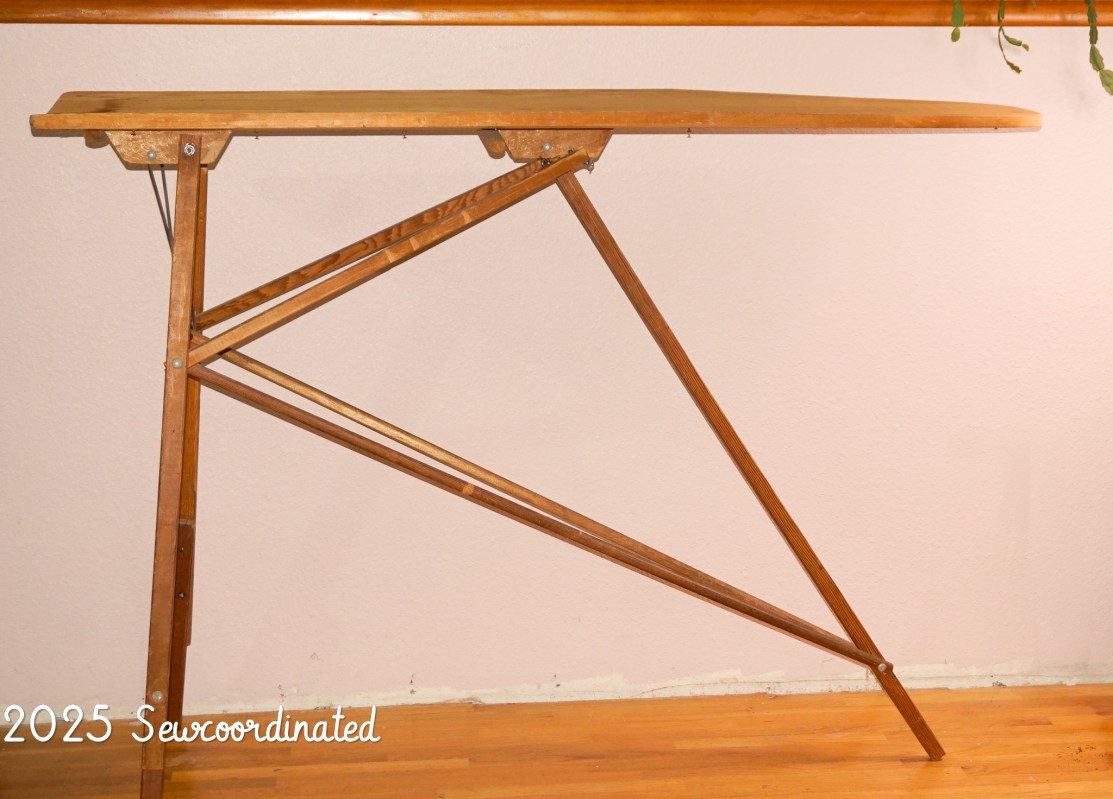
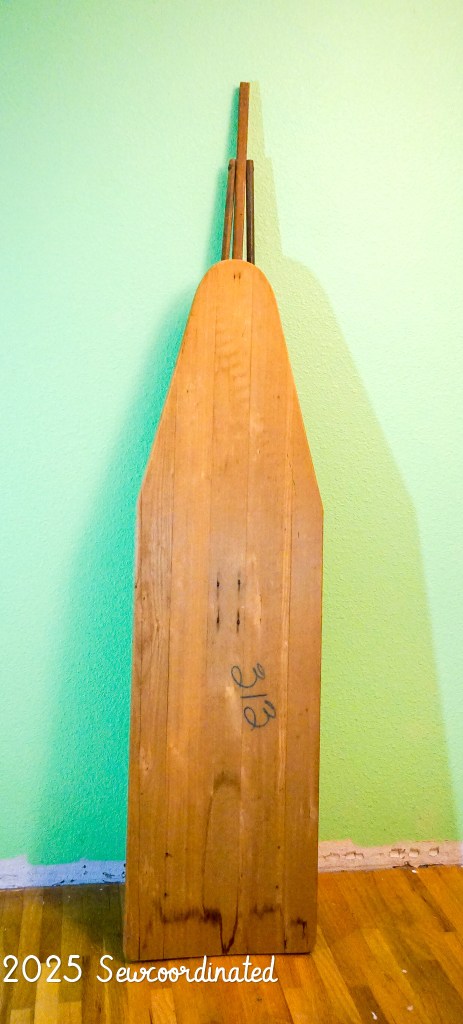
Here it is again, in 2025:

As you can see, it’s build is different from modern ironing boards. It has an older style of bracing that we refer to as a K shape in our house. Many modern boards utilize an X shaped bracing to hold the board up, and are made of metal. The big difference is that this board is made of wood. That is changing though, and I’ve seen some modern boards made of wood available online.

So how old is this board exactly? I used to think it was from the 1950s, but my recent research puts it to pre 1940! That means this board is around 100 years old and officially qualifies as an antique. It seems that wooden ironing boards were already replaced by metal boards by 1940. To quote from my search:
“The wooden boards would warp. It was the J.R. Clark company who began manufacturing ironing boards out of a mesh metal top, which allowed the steam to escape, preventing warps, rust and buckling. By 1940, pretty much all of the manufacturers were using all metal to make the collapsible ironing boards.”
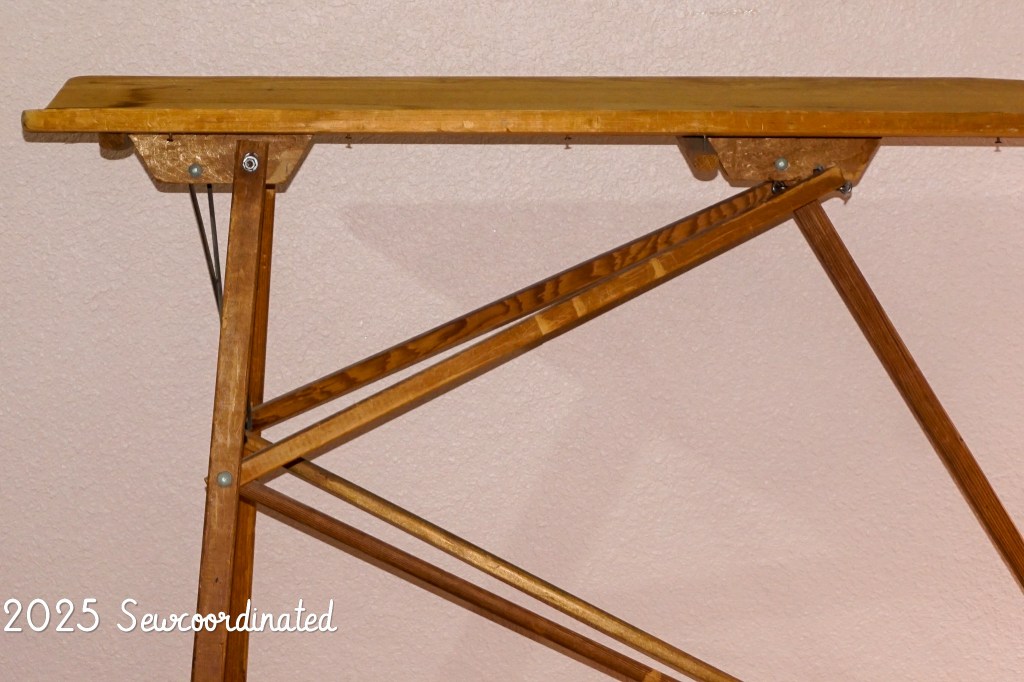
It’s certainly true that my board is warped:
I never knew the reason why though! I thought that the water staining/warping came was caused by it having sat in a leaky attic or a flooded house. Those were my best guesses.
My guesses were wrong: the water stains most likely came from clothes having been ironed directly on the board. Yes you read that right. In the early days of ironing many people ironed right on the board itself. It never once crossed my mind that people did that….I always thought a cover was used, and that the board had suffered water damage some other way. And although there are accounts of folks using a makeshift cover, such as a towel or cloak, to pad the board, the warped condition of these antiques show just how common ironing directly on an uncovered board was.
Some more interesting details of my board:
- Random number scrawl
- Lack of manufacturer ID
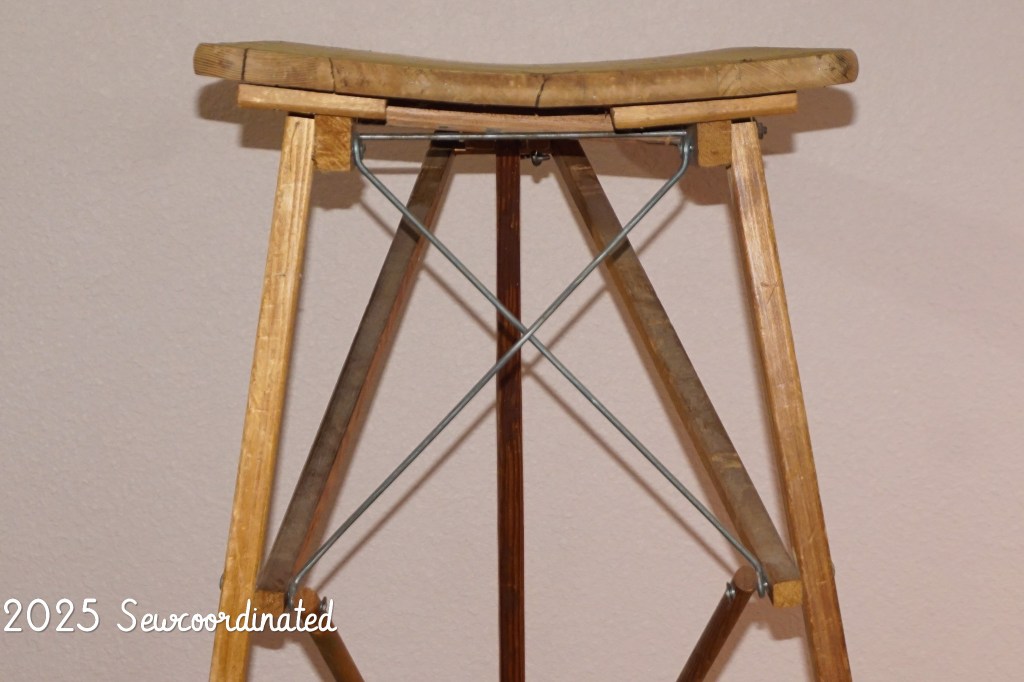
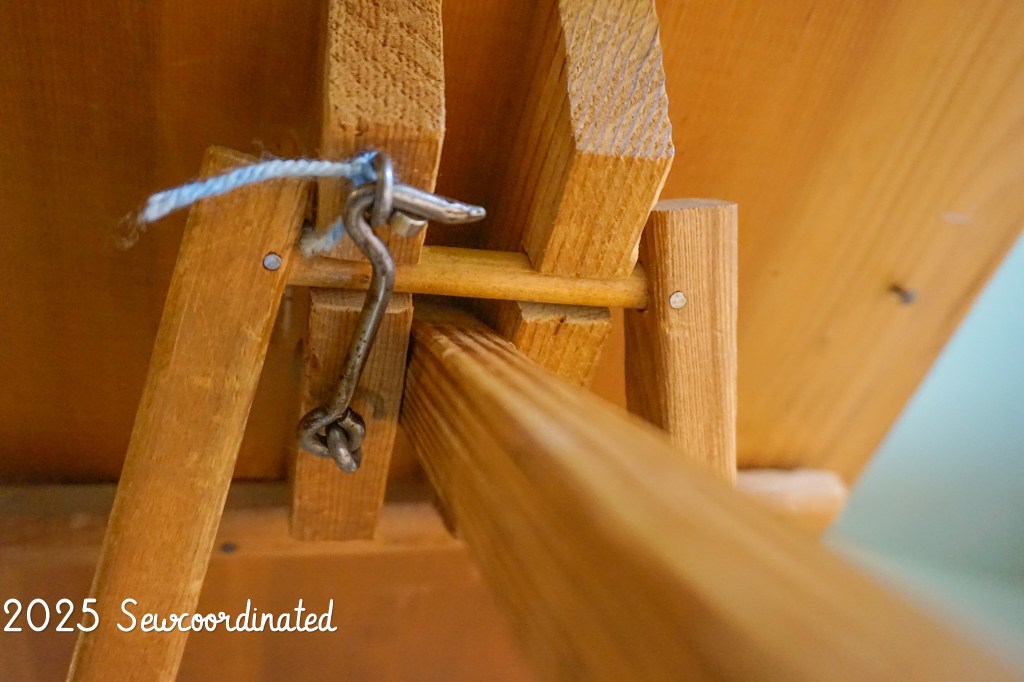
- Rarity of locking mechanism (see pic below)
There’s also a possibility that it’s homemade. Some people used to make their own ironing boards back then.
The New Cover For 2025
What are the standards for replacing an ironing board cover? I recently read that it should be replaced every 3 years if used daily. I use mine mostly for sewing: ironing fabrics before cutting, and pressing garments during construction. It’s used occasionally for ironing of store bought clothing as well. In the 11 years since I made the last cover (see original post), it’s held up pretty well, but it had accumulated some battle scars. Fusible interfacing glue got on it while fusing pattern pieces, and I accidentally cut through it a couple times while clipping or trimming. I end up using it as a work table at times while I’m making things! And hey, it’s been 11 years, what can I expect? Of course it’s time for a new cover. Last time I made my own. It was made from silver utility fabric that I bought from Joann’s. I wanted to make my own cover again, but I wanted better fabric this time. I had a standard in my mind that if I was going to sew my own, then it had to be quilted silver heat resistant fabric. Unfortunately, that fabric got sold out at Joann’s because they were going out of business, as everyone knows by now. I didn’t want to settle for the same fabric I used last time. Nor did I want to quilt my own, because I don’t have the set up to quilt a piece that large. With those things in mind, I made the decision to buy a cover. I chose a cover by Tivit and bought it on Amazon. I chose it specifically because it has a bungee cord to adjust the fit of the cover, in addition to the Velcro straps that many commercially made covers now have. My board has a sizing that’s a bit smaller than some modern boards, so a cover that can adjust to the odd size is very important. It got good reviews from people who have a vintage wooden board, and that gave me confidence in it. I first placed cotton batting onto the board to fill in the warped area. I didn’t do that last time, but this time I thought why not, and it did help level out the warping to a straighter line of board:
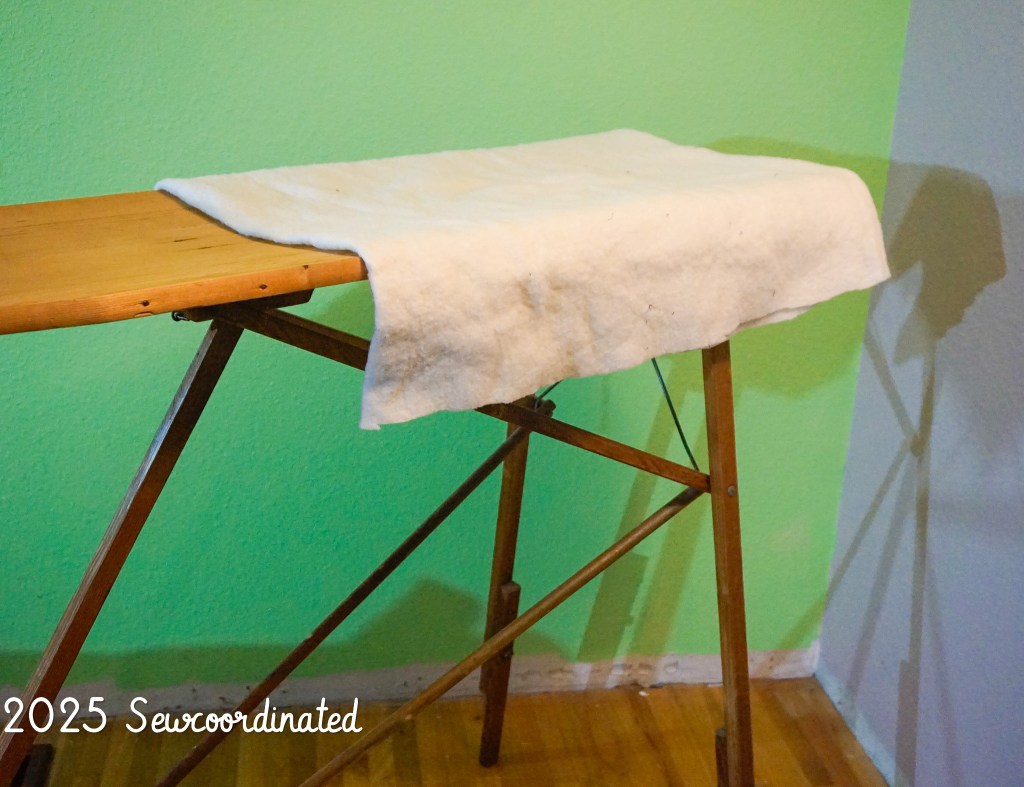
So there are now 3 layers:
- The cotton batting
- The old cover that I used as an under layer last time I recovered the board (see first post, link above if you’re interested)
- The new cover
With all it’s layers, recovered:
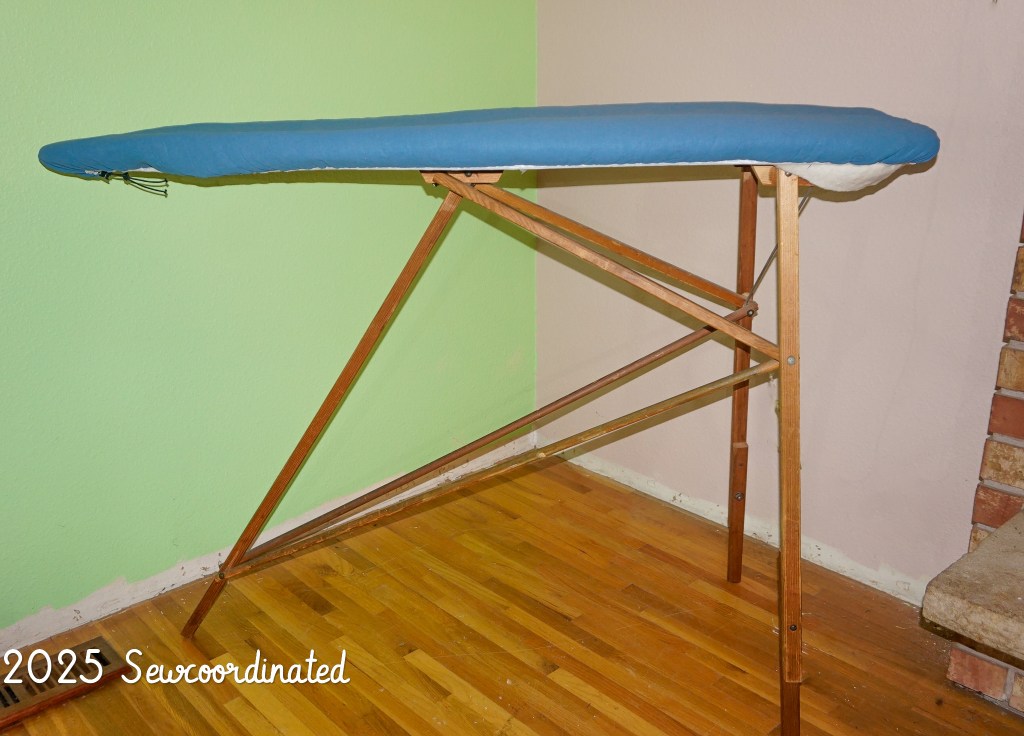
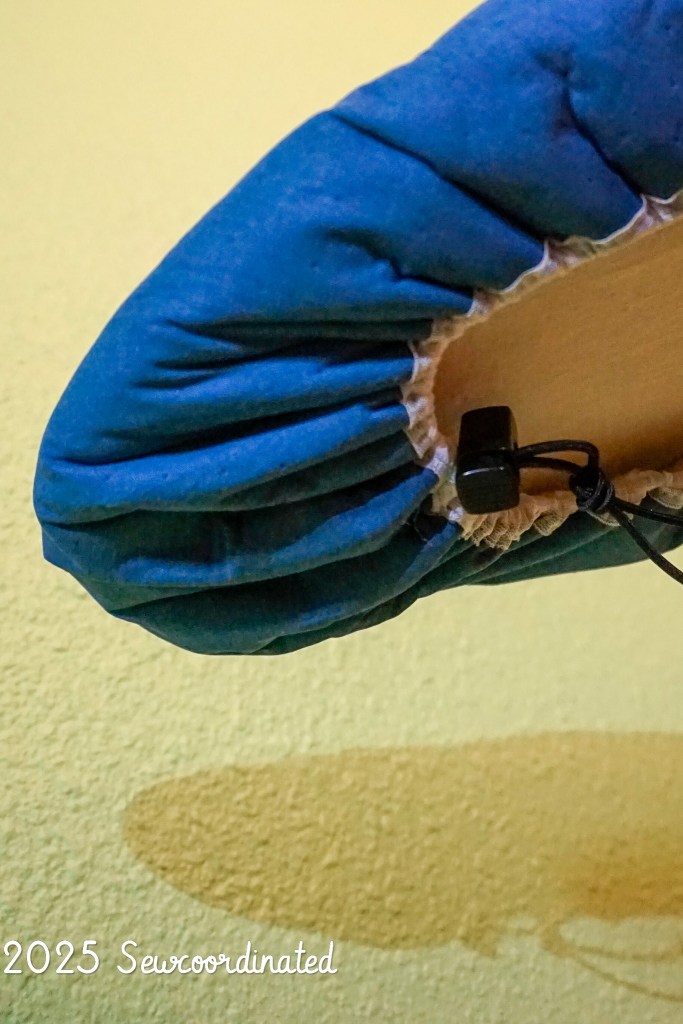
The bungee cord to adjust the fit:
And that’s it! That’s how I’m managing to keep my antique ironing board up to date and usable. I considered replacing it, but many of the boards that I researched have less than stellar reviews for the price. I think that I achieved the best possible solution to my dilemma in the shortest amount of time. This cover should last for awhile, it’s quite durable and well made. I just have to make sure that I don’t cut into it or get fusible on it. I’ll be more careful this time 🙂
