
I first saw and bought this pattern during the July 4th mega sale on Simplicity’s site. Most every pattern was $4 each. This super low price had me happily browsing through their entire catalog just for fun. What I wanted to make was a pair of shorts, as my wardrobe is lacking them. I need some fresh pairs, the ones that I have are old and worn. It took me a surprisingly long time to decide, mostly because I really enjoy looking at all the other designs of clothes, not just what I’m shopping for. But I finally decided on 2 patterns: B6901, and another. This one, by designer Lissette, is a 2 piece ensemble of menswear inspired basics for women. It consists of a buttoned vest (View A) and semi-tailored trousers/shorts ( View B/C). The pants have pleats in the front, darts in the back, cutaway pockets and an invisible zip on the side seam. The waistband is faced and topped with belt loops.
Sizing
I went with the envelope measurements to determine my size. Sensible right? Well, it didn’t work out well for me, and I realized that it’s probably because I did my usual full seat alteration. That made the shorts too big, and made them saggy and floppy in the back., with the waistline sitting at my high hip. No good, the waistline for this design should hit at the waist. I then sized down 1 full size in both the waist and hips (20/22). I’m a pear shape so I’m always at least 1 size smaller in the waist. My first try was a 22 graded to 24, altered as mentioned above, which was way too big. After unpicking the shorts completely (yes, I had to), I cut them down to the lower size range and re-assembled them. I did alter the back piece of this block too. They fit now, but they’re still a bit big in the waist and hips, especially the waist. They fit better than they did on the first go round though for sure. I now know that I could’ve gone for 1 more full size downsize (18/20) with the back alteration and that would probably have been perfect.
Stages of Alteration in Pictures
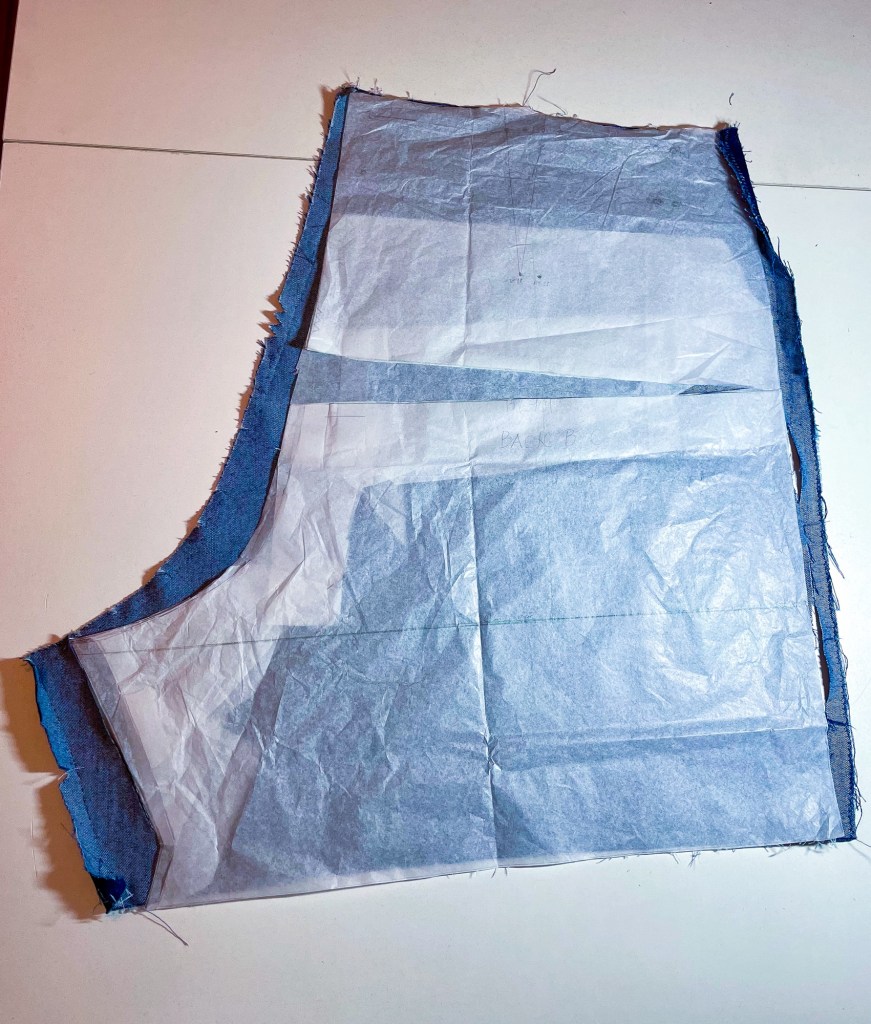
The following pic shows the difference between the first back piece I cut and the second back block that I drafted in the smaller size range (explained above). This was after I took the oversized shorts apart and laid the new pattern block over it for comparison.
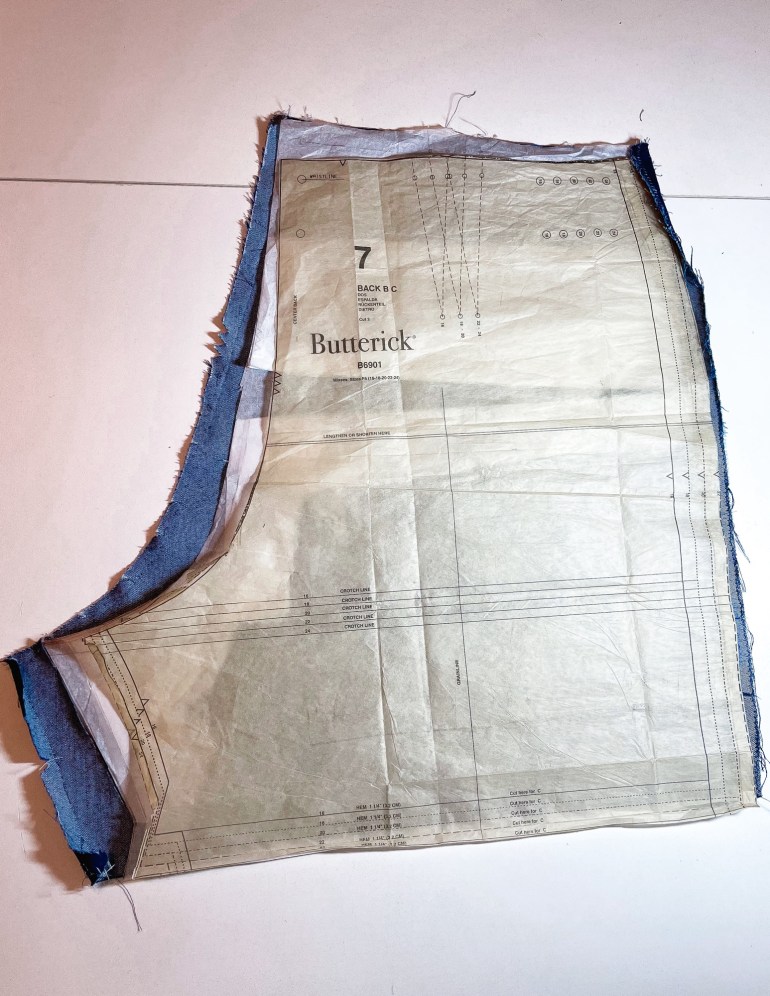
This next pic shows the 2 previous plus an overlay of the original unaltered pattern piece. I wanted to see the difference between all 3.
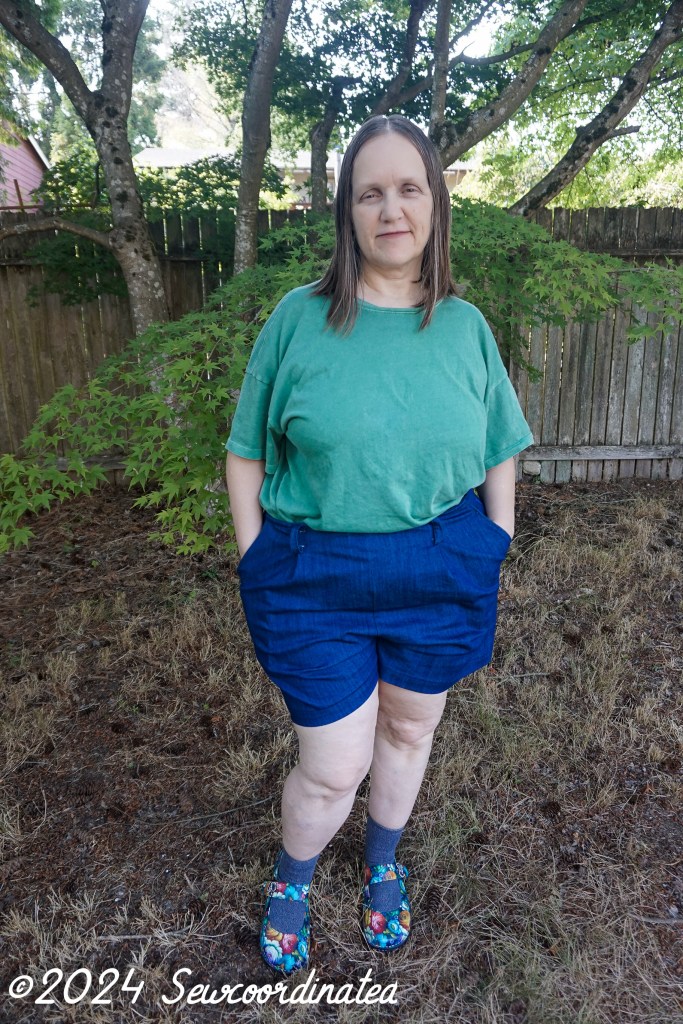
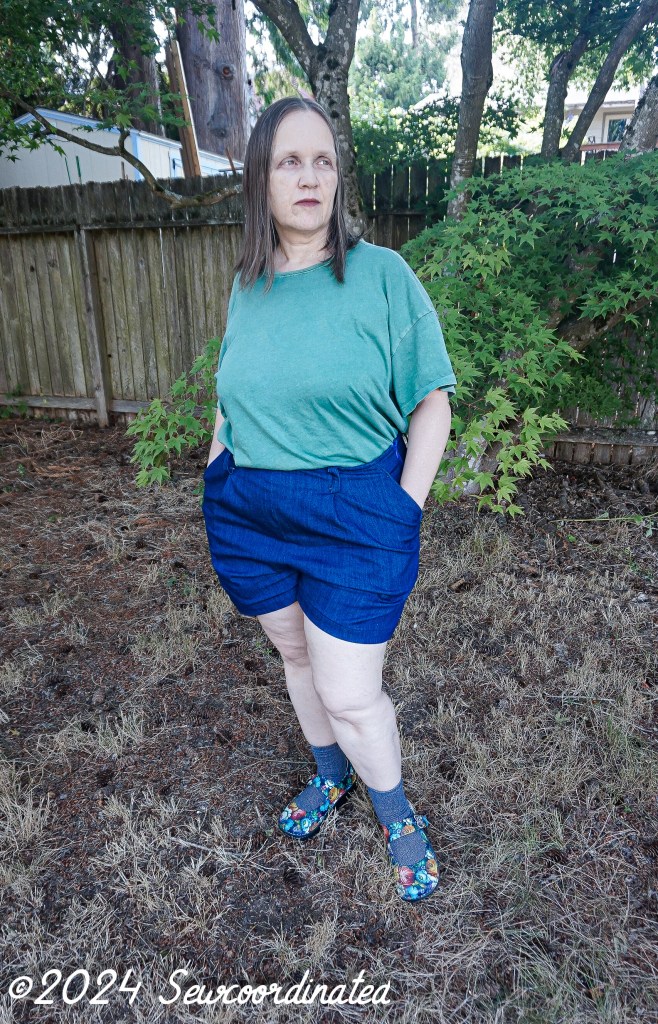
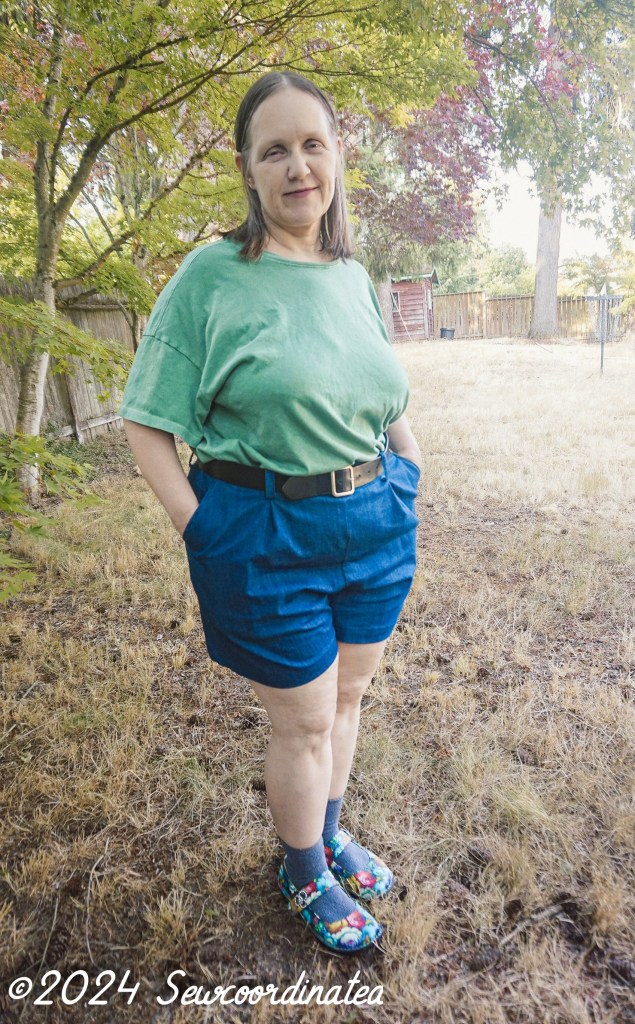
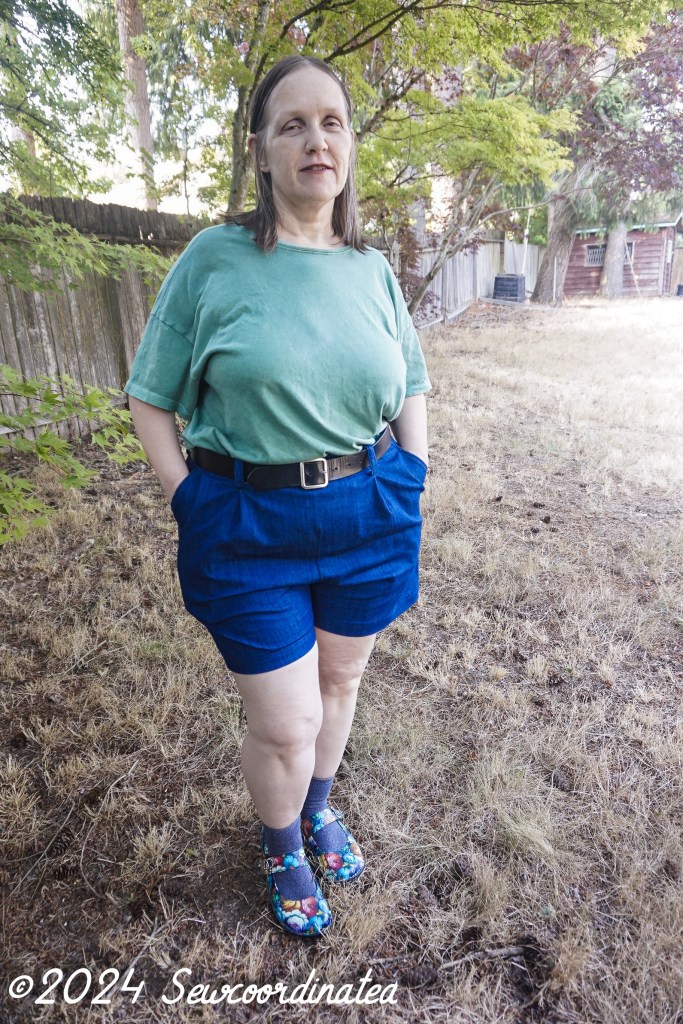
As I said earlier, they fit better now but are still a bit big, especially in the waist. I took pics without and with a belt to demonstrate the fit:
About The Fabric
The fabric I used is a 7 oz. stretch denim from Lucky Brand, bought at Joann’s It’s a really versatile fabric and I like the way it was kept in the store. It had it’s own wide Lucky Brand logo elastic to keep it secure on the bolt. Wish I’d taken a pic! You can see it here on this short vid with a buyer from Joann’s talking about it. This is something new I’ve noticed. The name brand fabrics from established clothing companies have this lately. The Eddie Bauer fabrics had it too. It’s a small detail that I feel adds a touch of class to the fabric buying experience.
Should I alter these? What do you think of the fit? If I do there’s for sure gonna be another blog post about them! I have a plan of action if I do. I’m just not sure if I’ll get around to it…after all, I remade them once already! I might try though. We’ll see.
Take care and thanks for stopping by 🙂
