
While doing some Spring cleaning in my sewing room, I discovered the pre-cut lining pieces for this pattern. I’d planned to make View A of this bag a few years back, before I moved, and the pieces became set aside and forgotten, until now. I was pleasantly surprised to find that I’d done a third of the cutting and marking already! I still had to cut the main fabric and interfacings, but I had a helpful head start.
I really like both views on the envelope, but View A won because of the front zig-zag pocket: it offers 3 storage areas, and I like the look of the folded waterfall pocket. It’s the real focal point of this bag. I just had to see how it sewed up for myself.
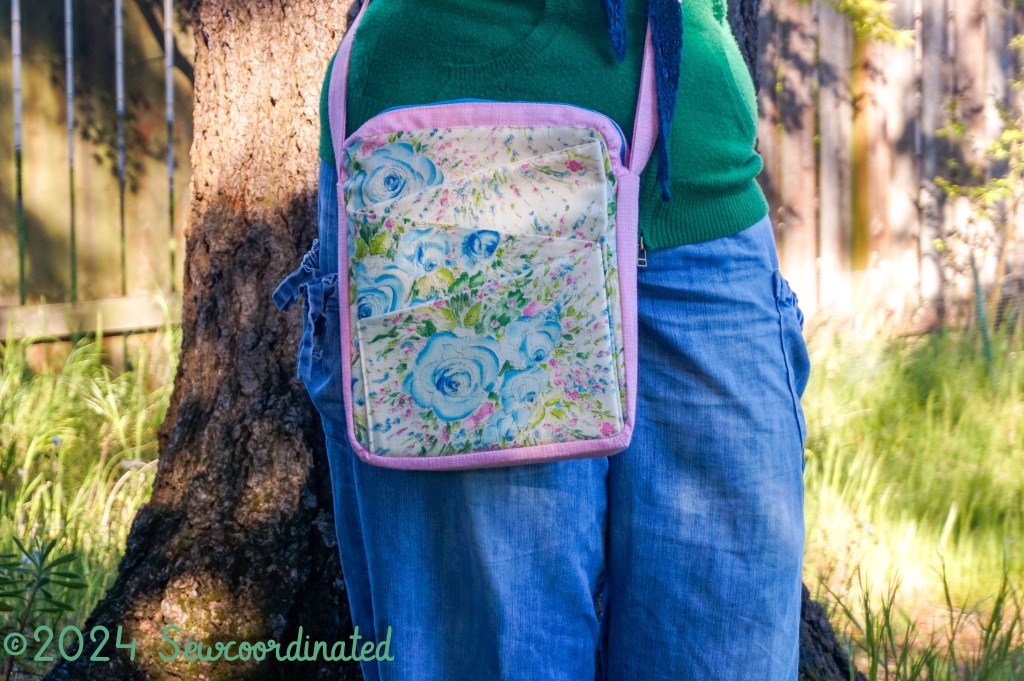
I used some printed burlap type material that I’ve had in my stash for a long time and didn’t know what to do with. I saved it because, although it wasn’t suitable for clothing, it has such a beautiful print. I really wanted to showcase that and played around with the pocket piece on different areas of the fabric until I got the right picture. It didn’t have enough length for the gusset and strap though, so I sourced some polyester from my stash that needed upcycling. It’s the same fabric I used to make the fabric yarn (farn), for this rug.
Pattern Details and Thoughts
This pattern uses sew-in interfacing, which I don’t often work with. I had some on hand, which I’d probably bought specifically for this project. I found it to be adequate for most of the bag except for the gusset, which I really think would’ve benefitted from a craft weight fusible interfacing. I don’t think the sew-in provided enough support for the gusset – it could’ve been and needed to be (in my opinion), more structured. If I were to make this bag again I’d definitely use something like Craft Fuse for the gusset.
For the front pocket I used some leftover Wonder Fuse, a double sided interfacing that works when fusing 2 pieces of fabric together. This was perfect for the pocket here, which is composed of 2 sides of the fashion fabric. It gave the pocket a lot of firmness.
Mods I Made To Improve the Look
I’d finished the bag, and had already sewn in the lining. Then I tried it on, took a look in the mirror, and was disappointed. The gusset…it was too saggy for my liking. It gave the bag an unstructured look that didn’t suit it’s design. As I’d thought – the sew-in interfacing didn’t provide enough stability. I felt that on a bag like this, which is vertical and holds items likes books and tablets, the gusset should hold it’s own like a framework and that wasn’t how it looked. I don’t have pics of it, forgot to take them, but I do have pics of how I fixed the problem:
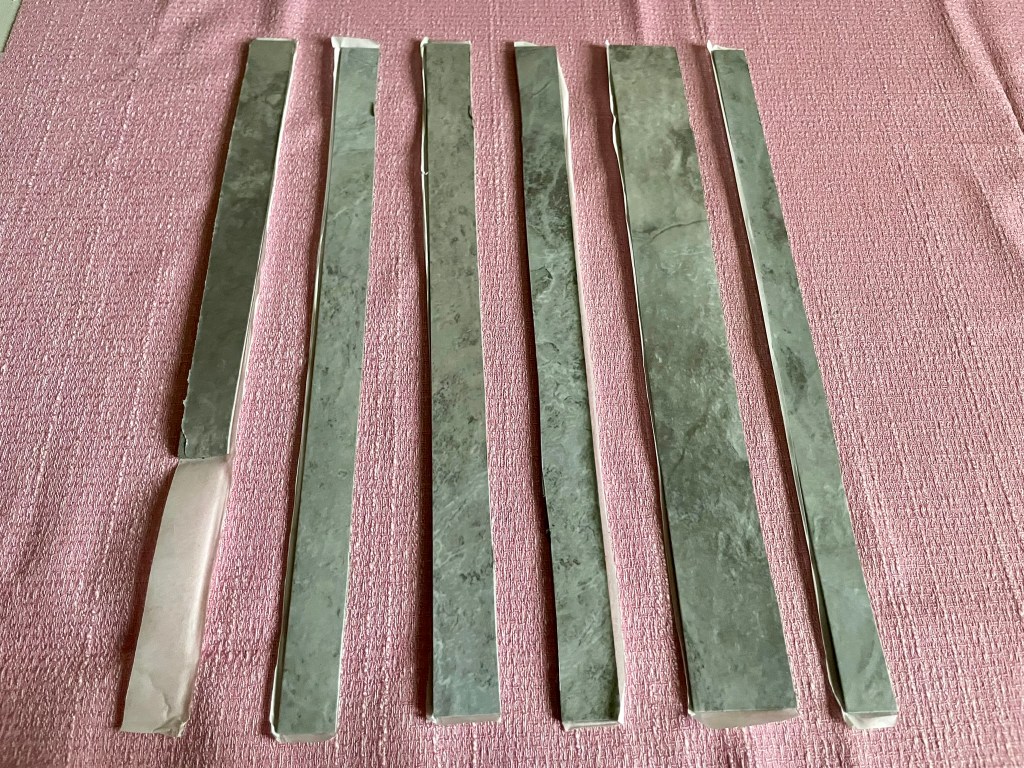
I needed some kind of a plastic liner that could be cut to size. These offcuts of floor tile from our bathroom reno were the best material I could find on short notice. They’re peel and stick, so I figured that they’d stick to the fabric and stay put:
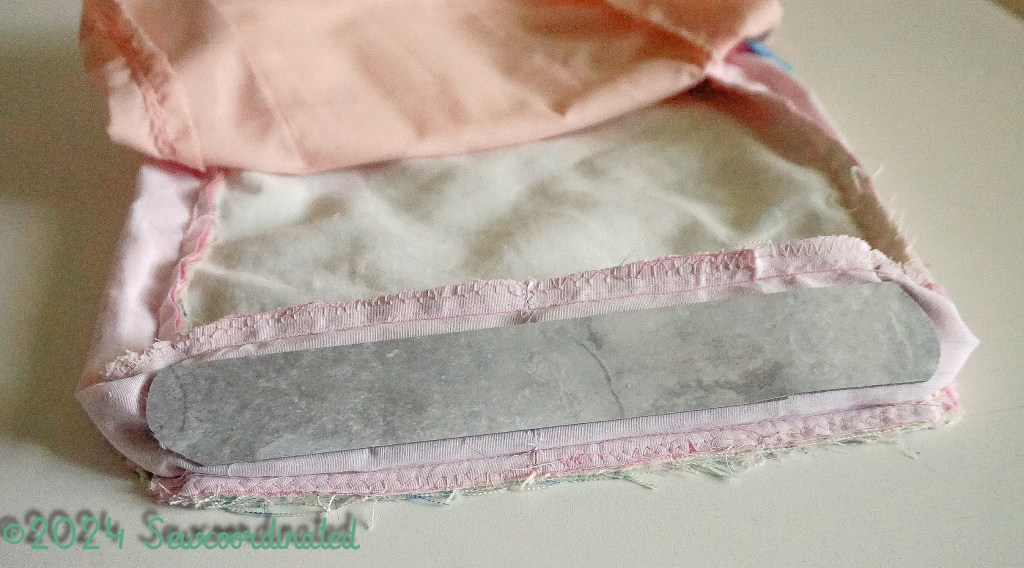
I fitted 2 more pieces for the gusset sides:
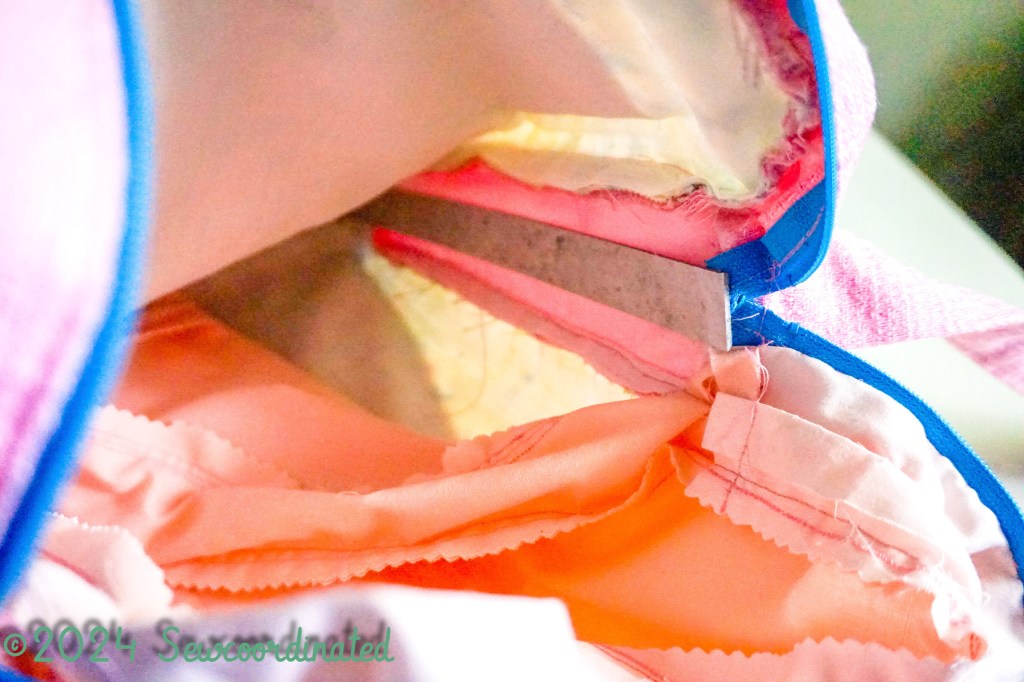
This helped a lot with improving the look of the bag. The gusset became shored up and looked better when worn.
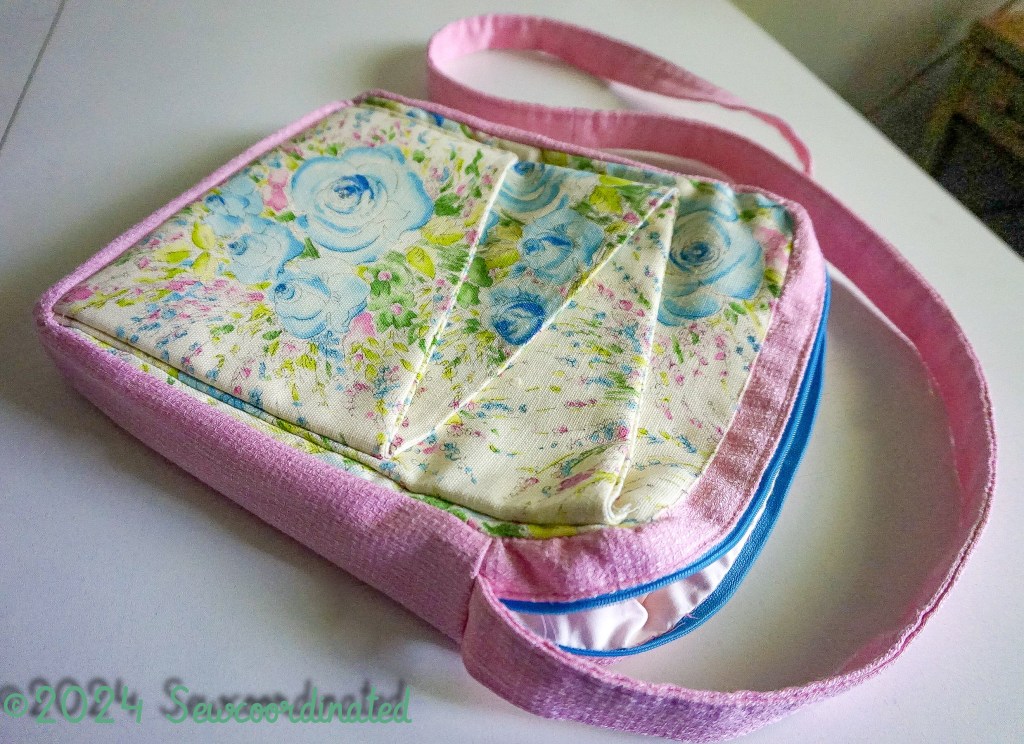
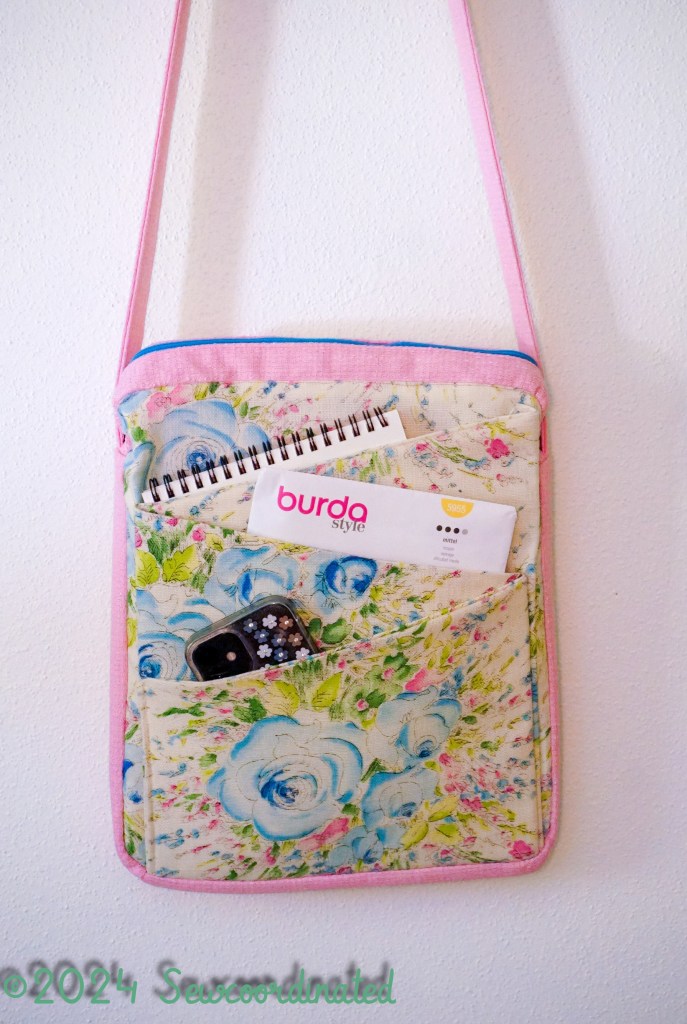
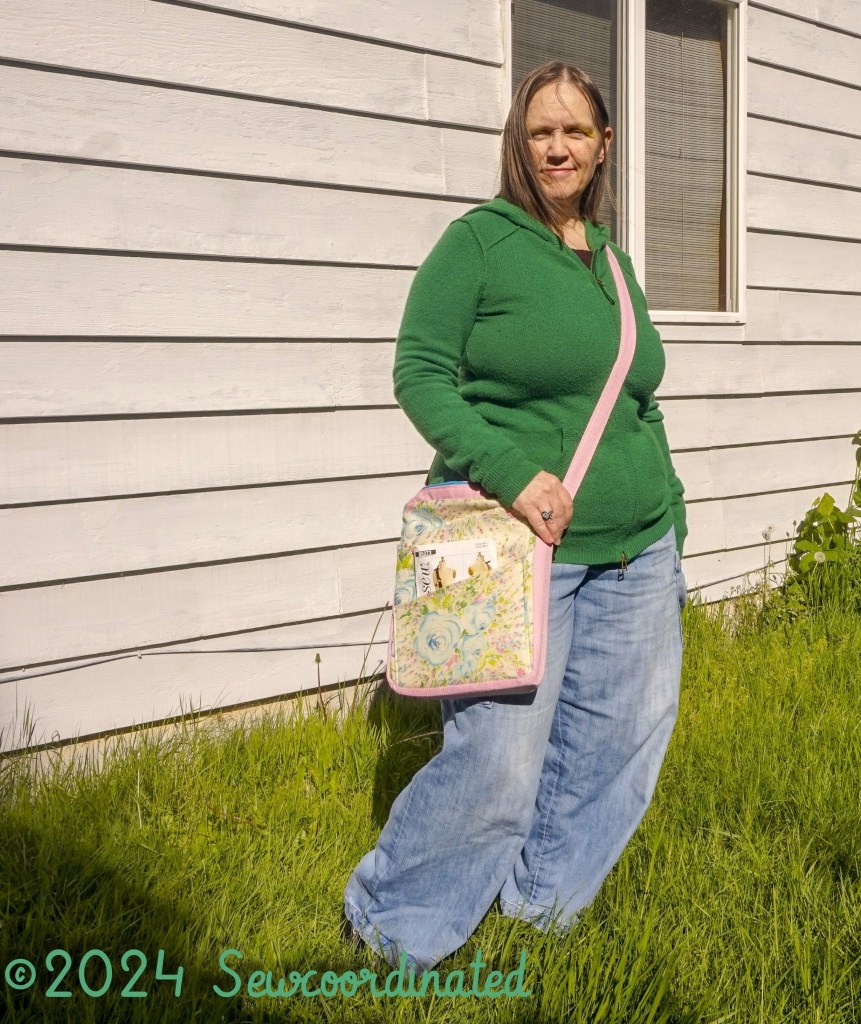
It did turn out larger than I thought – the pattern envelope picture was misleading and I should’ve checked the dimensions! Its size makes it a cool art supplies bag though, as it can carry sketch pads and pencils. The pattern lining provides 2 inside pockets as well.
And there you go, my make and review of B5273.
Take care, have a lovely holiday weekend here in the U.S., and thanks for reading 🙂
