
First published in 2019, this shirt pattern is one of Mood’s first patterns in their now large catalog of free sewing patterns available on their site.
I wasn’t put off by the age of the pattern; I really loved the Peter Pan collar and the fact that it was designed for very thin slippery fabric, which is what I was looking to use up from my stash.
The Fabric I Used
The fabric I chose could certainly qualify as coat/jacket lining for sure, but at the time I thought of finally making use of it, I thought that the swirly weave should really be seen. I’ve had this fabric for a long time, part of my Craigslist haul from back when. My goal lately is to make use of what I have, and I had a lot of yardage of this fabric. Even after making this shirt I might still have enough to line a jacket or make a vest.
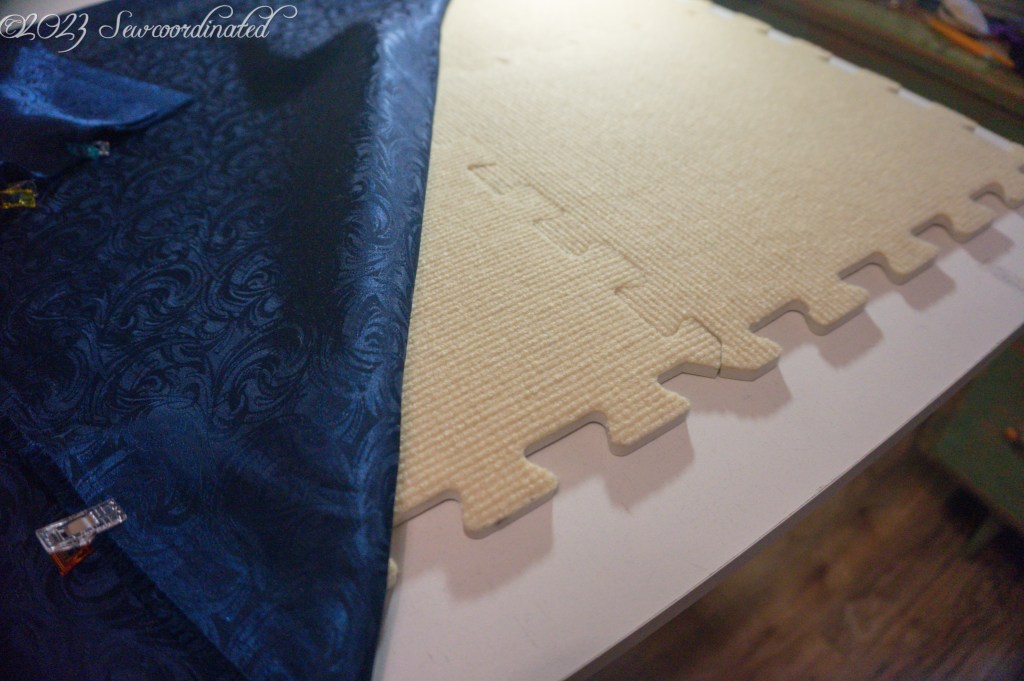
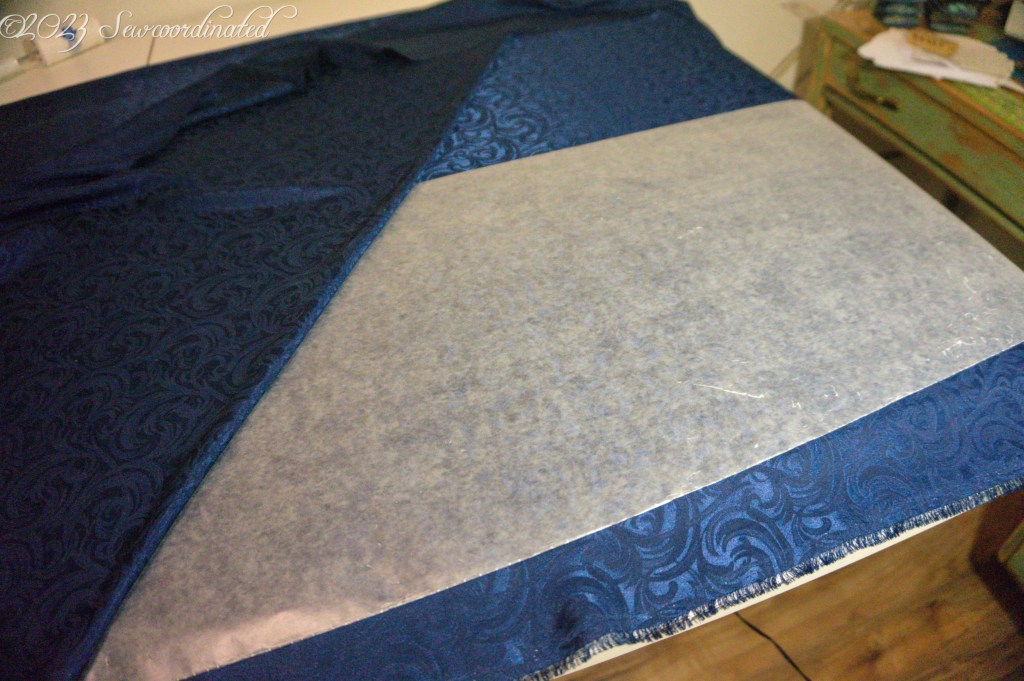
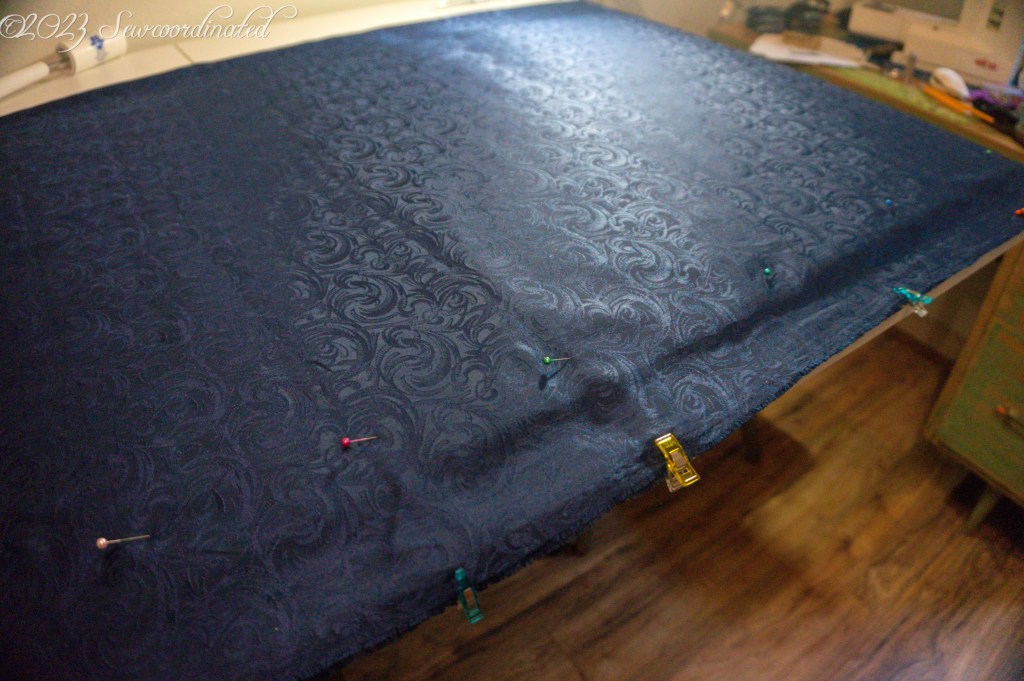
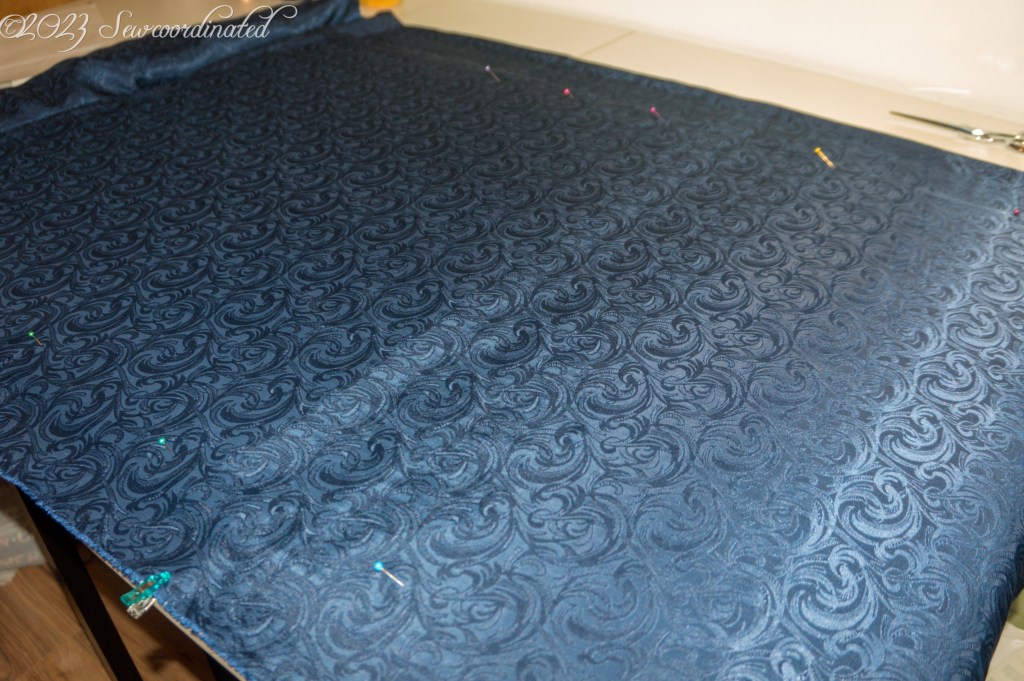
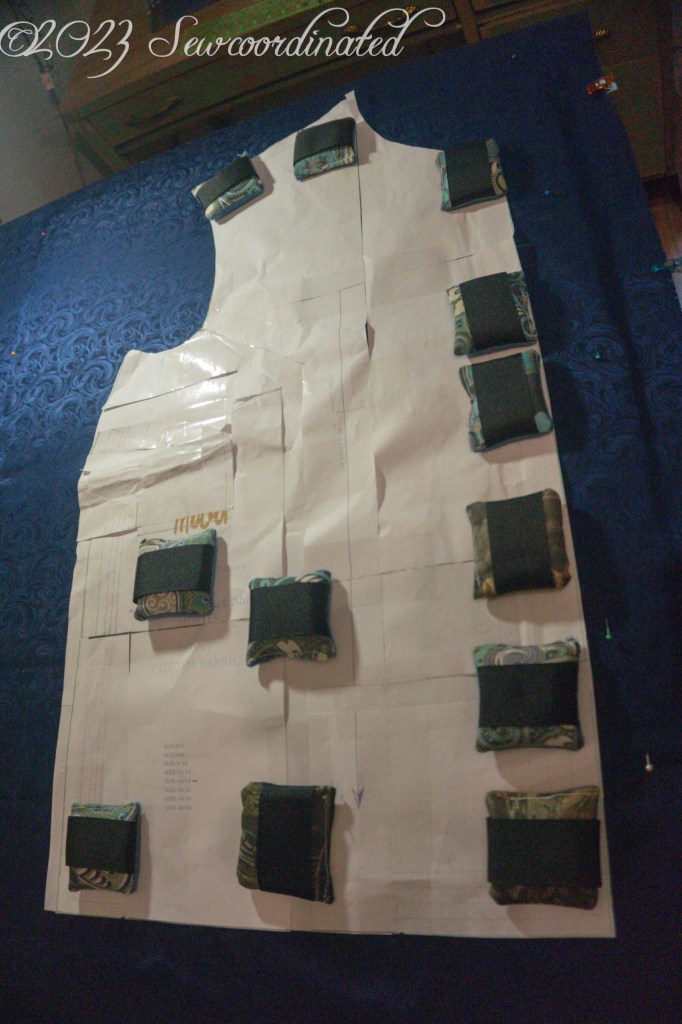
This fabric is crazy slippery and very hard to cut. In fact, I messed up one of the sleeves and had to recut it. The project would’ve been sunk at that point if I didn’t have enough yardage to cut another. I had to take some extra care in securing/stabilizing it so that it wouldn’t move while cutting. To do this I took out my knitter’s blocking mats and pinned the fabric to those. I also placed a sheet of waxed paper between the 2 layers of fabric and pinned some more, while also using my homemade pattern weights.
The cutting process:
The Pattern and My Thoughts on It
I mentioned above that I wasn’t put off by the 4 year age of my chosen pattern. I wasn’t, but I also knew that choosing an older Mood Fabrics pattern would mean that it’s very bare bones, and it did turn out to be just that.
I made alterations to the pattern:
- FBA
- Lowered the dart, almost too much but it’s passable
- Shortened the sleeve about an inch, but it actually needed another inch
The pattern didn’t have the entire dart drawn in, only the outer edges. I had a lot of problems with them, because I didn’t plot them clearly enough throughout my alteration process, so their length and width became a guessing game during construction. This cost me a lot of time and re-dos to get them right.
Another major problem with this pattern was the box pleat on the shirt back. The pattern had no mark of it, meaning no printed fold lines. The only way I knew there was a box pleat at all was from reading through the online construction tutorial. It’s quickly mentioned that one is made, no exact length is told, and no picture is shown. That’s right, no pic of the pleat in both the construction tutorial or the finished shirt. It’s up to the maker to trial and error it out until the right size pleat is found. I discovered that my first guess wasn’t right when the shirt fronts stuck out beyond the collar. I had to remove the collar and make a larger pleat. Yeah, this was annoying to discover that something so simple yet necessary to the fit of the collar to the shirt was missing from the flat pattern markings. Removing a collar takes time, as does working with slippery fabric that requires a low iron setting so that it doesn’t burn when re-forming a new pleat. This is why the pattern is free.
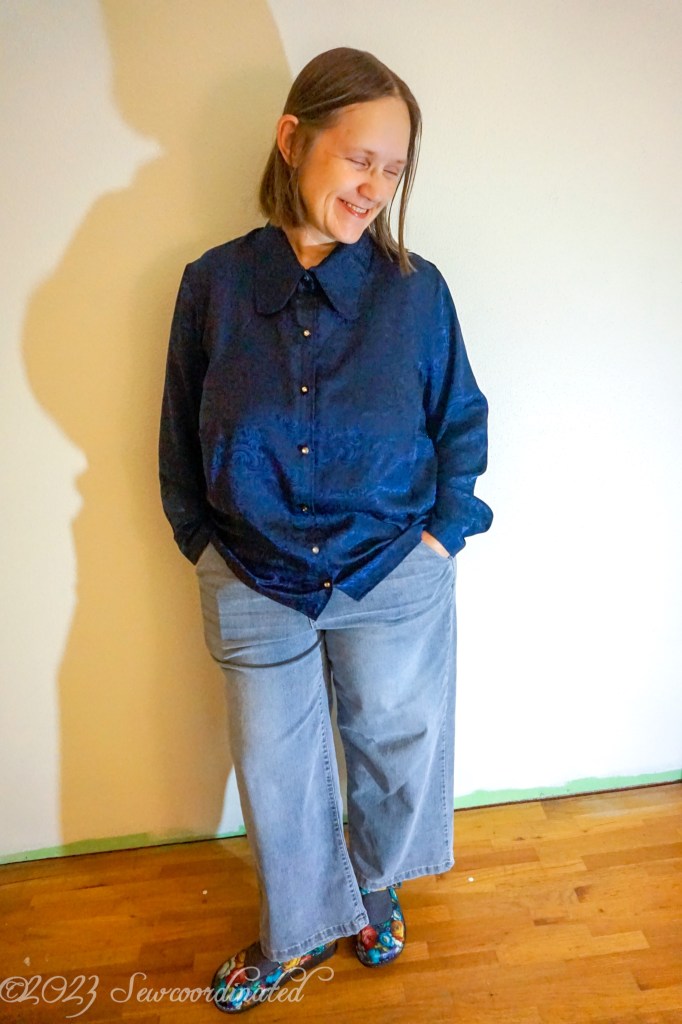
I made the shirt for the collar, which I really liked, and it didn’t disappoint. I found the collar and stand to be true to the pics, although I did think it was a bit big to be honest. This brings me to some thoughts on the fit of the entire shirt. I cut a 16 and made a full bust adjustment.

The shirt has a “boyfriend shirt” fit. It’s just slightly larger and looser than it should/could be. I don’t really mind that though, I think the fit imparts some casual to the very dressy look of it:
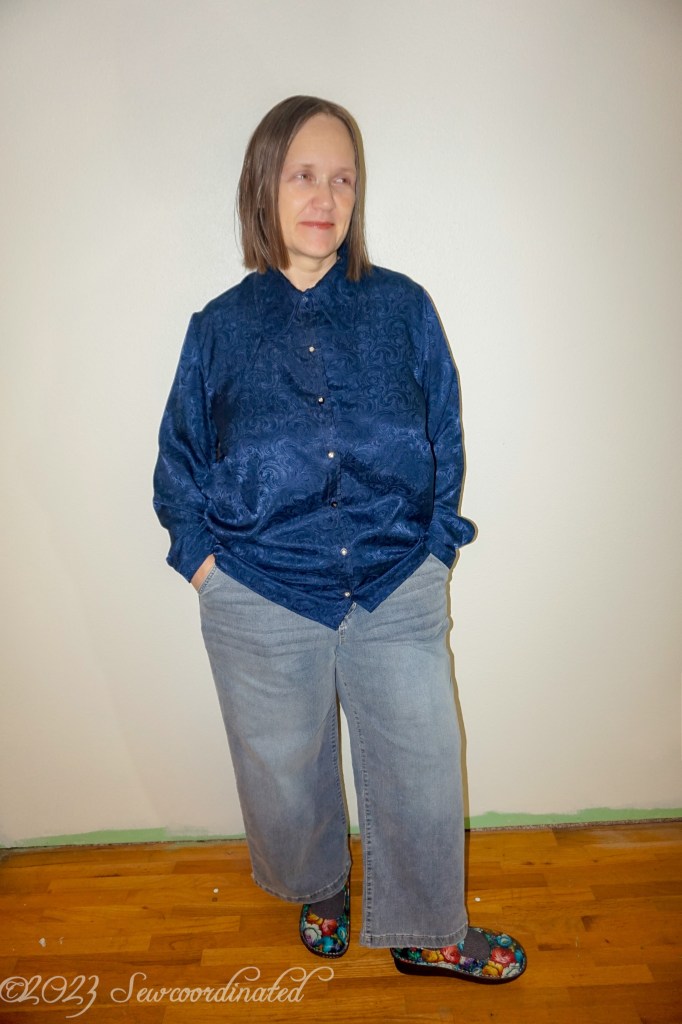
And finally, with the shirt tucked in:

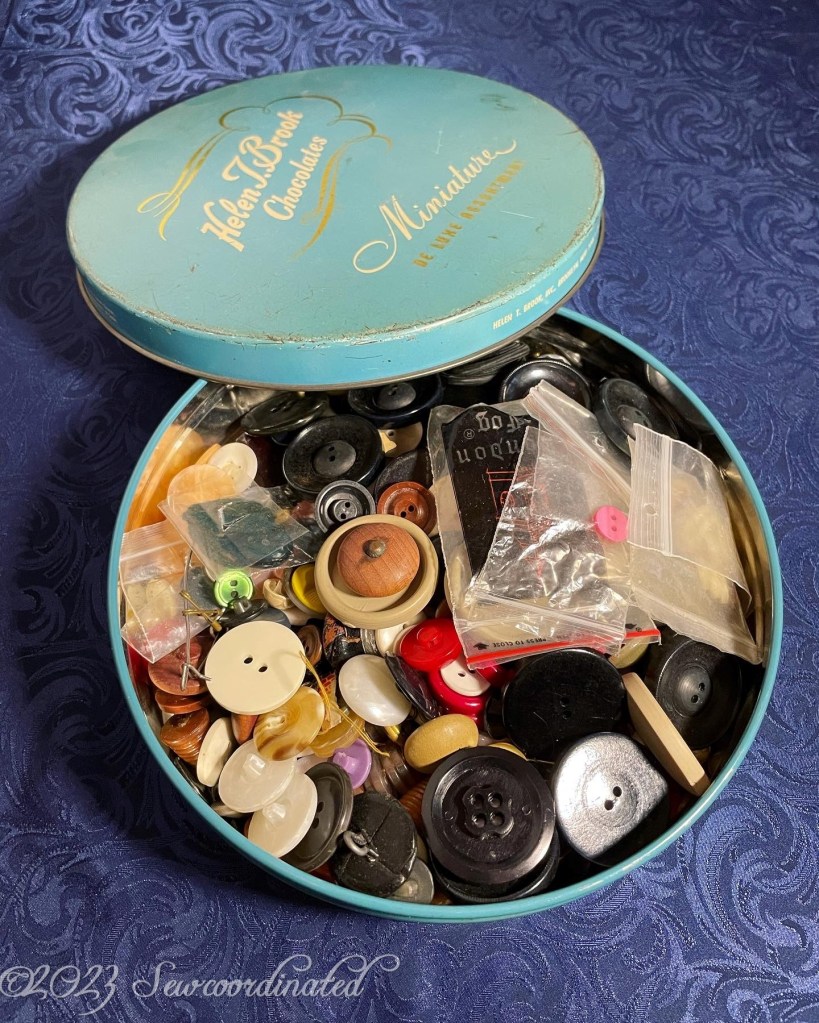
A few words about the buttons: I sourced the set from my mother’s button collection, held in a vintage chocolates tin:
I found a really cool set of very similar yet different crystal buttons:
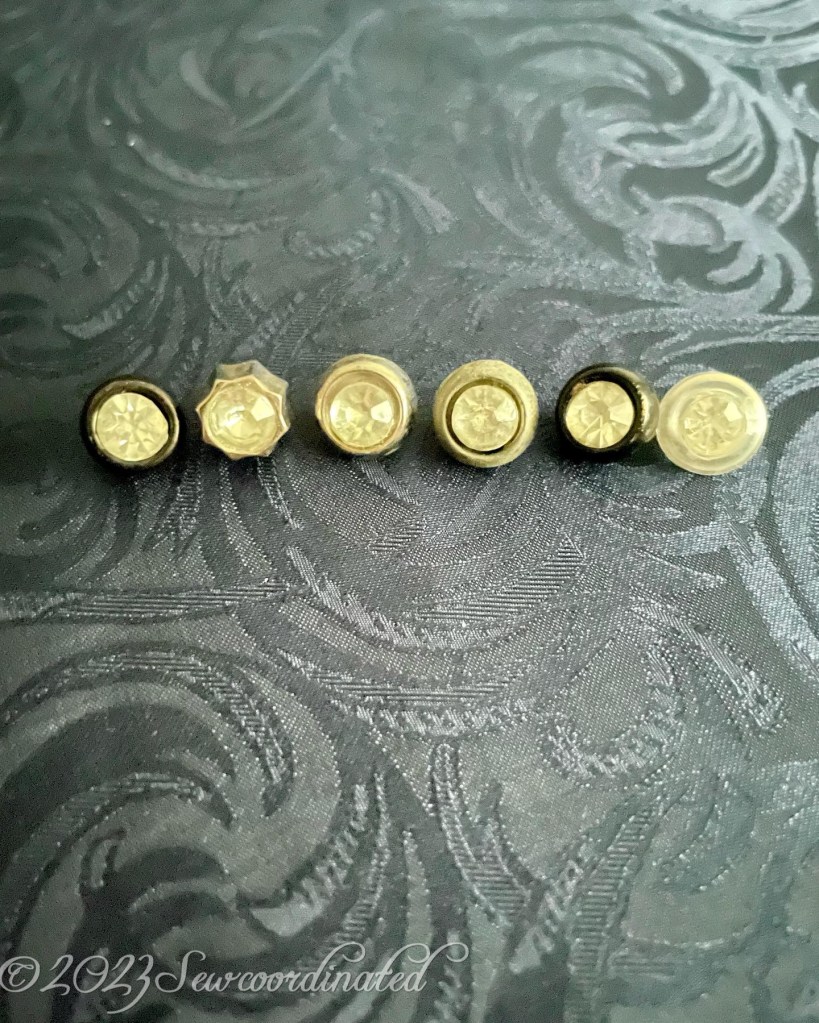
I used a slightly larger button from my own collection for the collar, to give it more support.
So, to summarize: This project cost me about $2.00, the cost of a spool of thread using my coupon at Joann’s. Everything else was already in my stash:
- the fabric
- the interfacing
- the buttons
And of course the pattern was free, but that did end up costing me a lot of time because of missing marks and minimal construction info.
No, I wouldn’t recommend this pattern for beginners for reasons explained above.
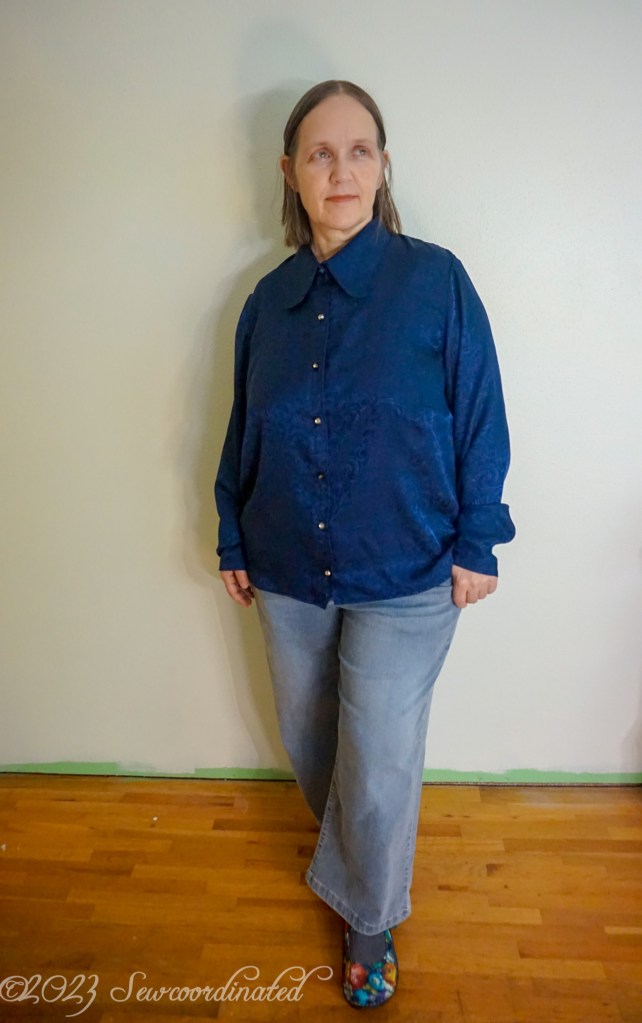
I’m pleased with the shirt though, and I now have a dressy/casual button up wardrobe basic in this Autumn/Winter 2023’s most on trend color: Blue!
Take care and thanks for reading 🙂

Thank you for writing about your experience making this pattern. Perfect timing because I am about to sew it myself. I also want to do it for the collar and would never have known about the pleat in the back…not certain I like it, really. We’ll see.
The fabric you used is beautiful, very much deserving a proper view!
LikeLiked by 1 person
You’re welcome Charlette, I’m happy you found my post helpful! The pleat is part of the design, so an extra fabric amount was drafted into the flat pattern to include that design feature. The good news is that you can make the pleat 2 ways: with the fold inward, as I did, or have the fold outward, which is a very popular option seen on many shirts. If I were to make it again I would have the fold outward. Good luck on sewing this!
LikeLike