
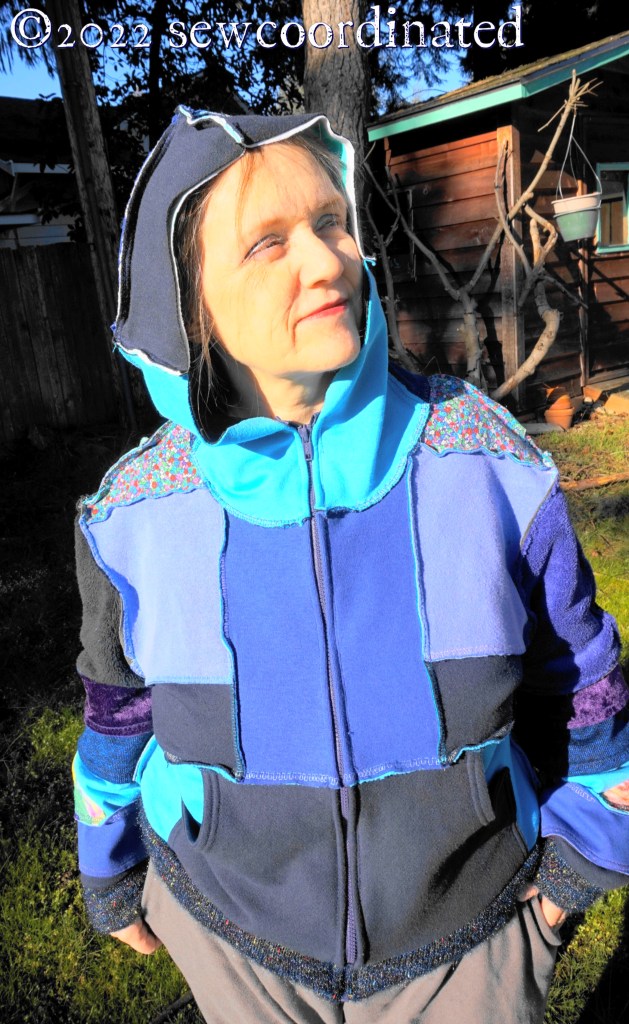
After 8 months in the making, here’s my completed jacket, made only of remnants and scraps from my knit fabric stash. The cost was only the price of the zipper, about $4.00 after my coupon discount at Joann’s.
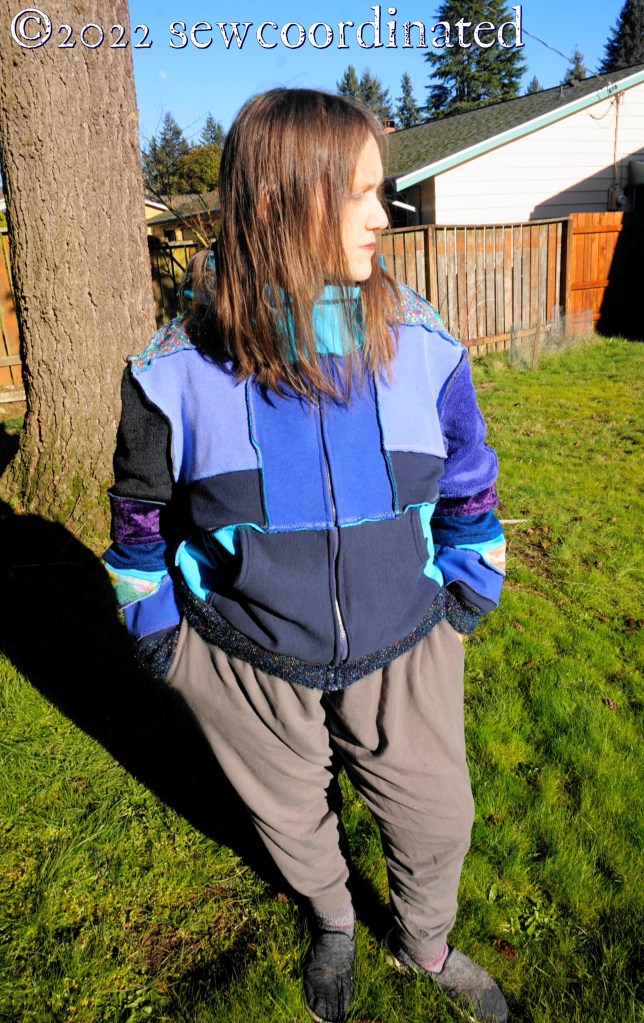
Pretty cool huh? 😎 I’m quite pleased with it! If you’ve been keeping up with my progress on this garment, then you might notice that I changed the sleeves. I wasn’t happy with the floral fabric that I worked so hard on quilting, to make it match the side back panels. When I pinned the floral sleeves to the jacket body I was disappointed with the look and knew that I had to change them up.
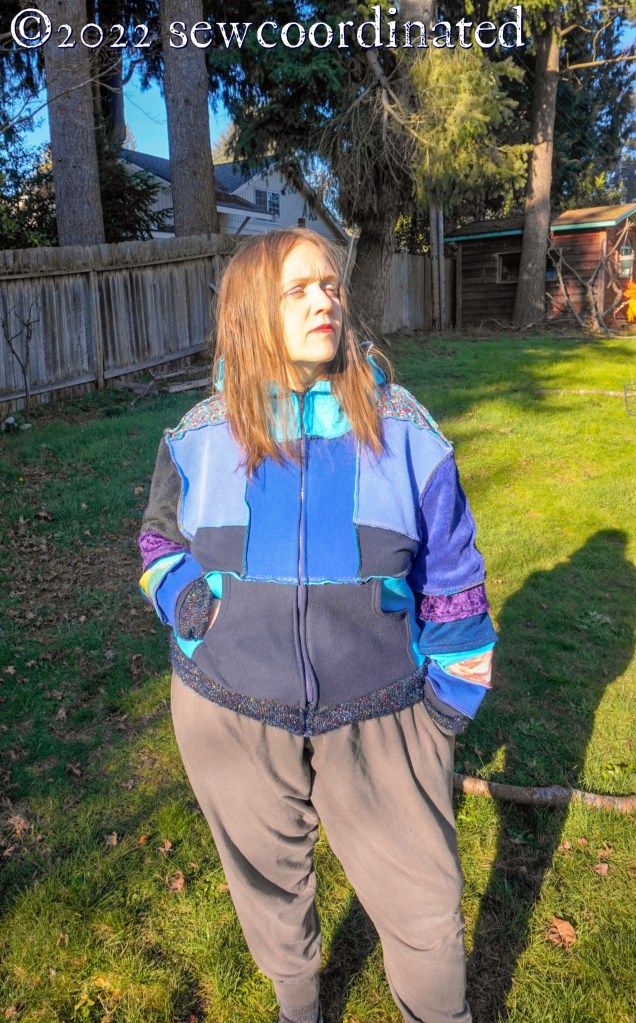
Luckily, I had a set of back up sleeve caps (that I should’ve used in the first place). I used some leftover stretch fur material: the purple comes from this jacket. I didn’t have enough of either purple or black to make an entire sleeve cap, so I had to bisect it, as I did with the floral, except that the floral was all the same print so it wasn’t as noticeable as it is now with 2 different colors.
I also added a stripe of blue/black knit to the sleeve. I had shortened the sleeve at one point, mistakenly thinking it was too long. I needed to lengthen it again to get it back to the length it originally was, so blue/black knit to the rescue.
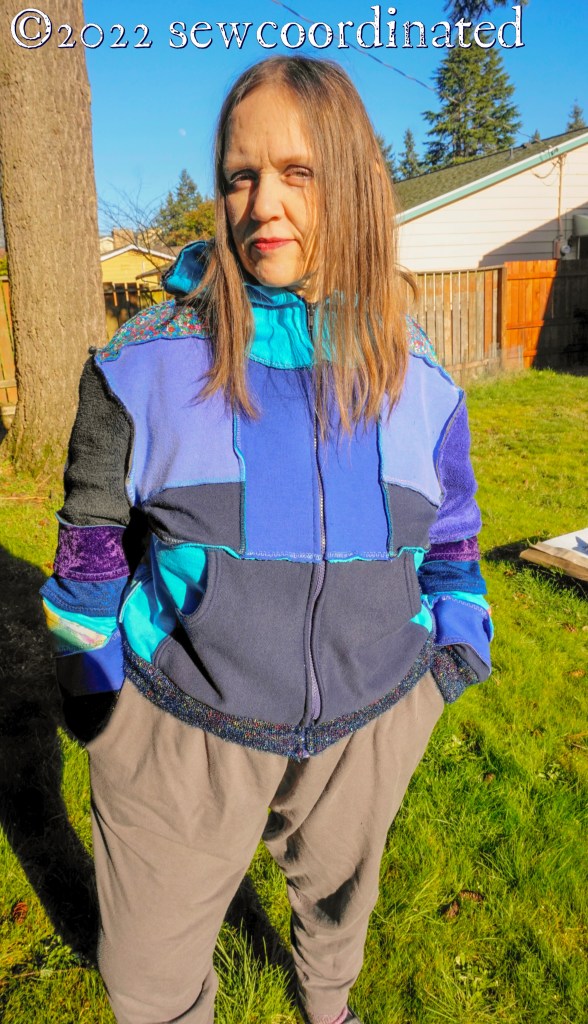
The ribbing for the jacket bottom and sleeves is some sweater knit that I used to make this pullover. It’s as difficult to work with now as it was then! The cut ends curl and unravel easily and shed tiny hairs like crazy. I’m glad to put it to use for that reason, so it doesn’t sit in my stash and shed over other fabrics, although surprisingly, it only seems to start shedding when it’s handled and worked with. It’s pretty lightweight in comparison to the rest of the jacket, so I added some knit fabric filler to it as a liner, to make it more substantial.
And how bout that zipper? It gave me no end of trouble. Getting it stitched in place just right so that the 2 sides perfectly aligned wasn’t easy. After 2 failed tries with machine basting, I realized that hand basting was the way to go. Machine basting was causing too much shift due to the fabric bulk during the feed under the foot. Approaching it the hand baste way made perfect alignment possible.
I also used a 24″ zipper, so that it extends up to the hood, which I like in a jacket. The original pattern called for an 18″ zipper. In all the mods I made to this pattern, I also added some length to the jacket, so a longer zipper was called for.
Here’s a close up of the back:
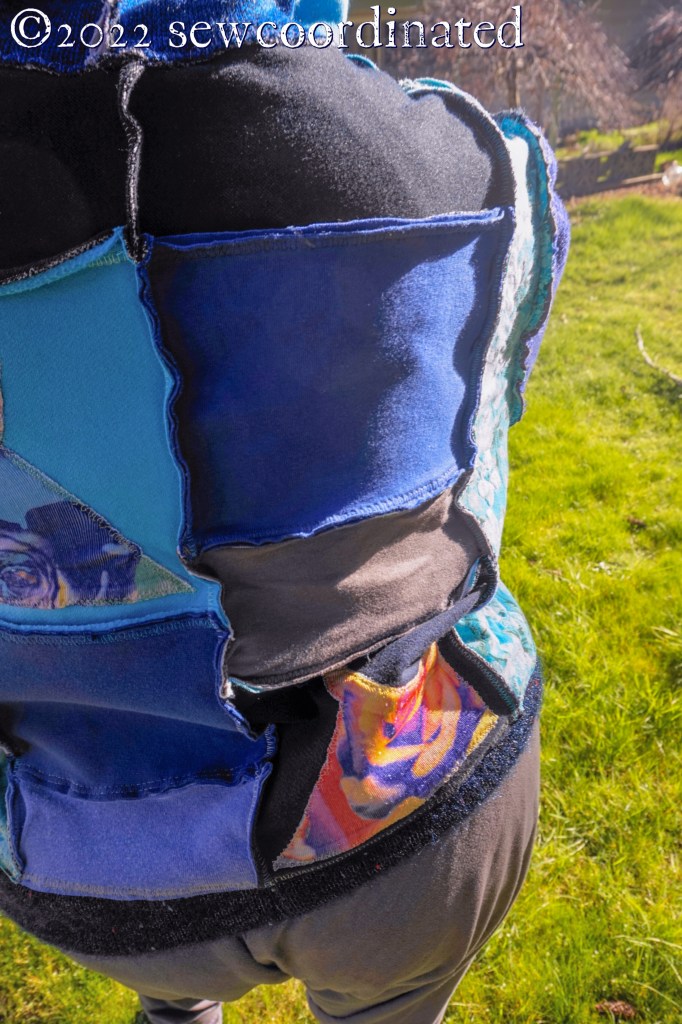
And another back view:

The matter of how to finish the hood is still under consideration by me. The pattern called for a 1″ hem on the hood, but with the added bulk of the extra pieces I didn’t think it was a good idea. I just left it unhemmed, and I cut it down a bit because it was too long.
The final thing I need to do to improve the comfort of this jacket is to cover the inner zipper tape with a fabric strip. That’ll make it more comfy for me to wear. I mean, it isn’t unwearable, but I do feel some roughness from the zipper tape on the hood where it contacts the skin of my neck. I just have to source a long enough piece of stretch knit that isn’t too thin or thick, sew it over the zipper tape, and the problem will be fixed.
The rest of my outfit is handmade too: the pants are the Brya Pants by Mood Fabrics, blogged here, and the socks are a self designed pattern blogged here. I know they’re hardly visible, but they ARE there! By the way, the published pattern is coming soon. I haven’t forgotten!
I hope by now that you’re convinced about the possibilities of color blocking. It’s a technique I’ll use again, and a new tool in my design workbox.
Take care and thank you for reading 🙂
