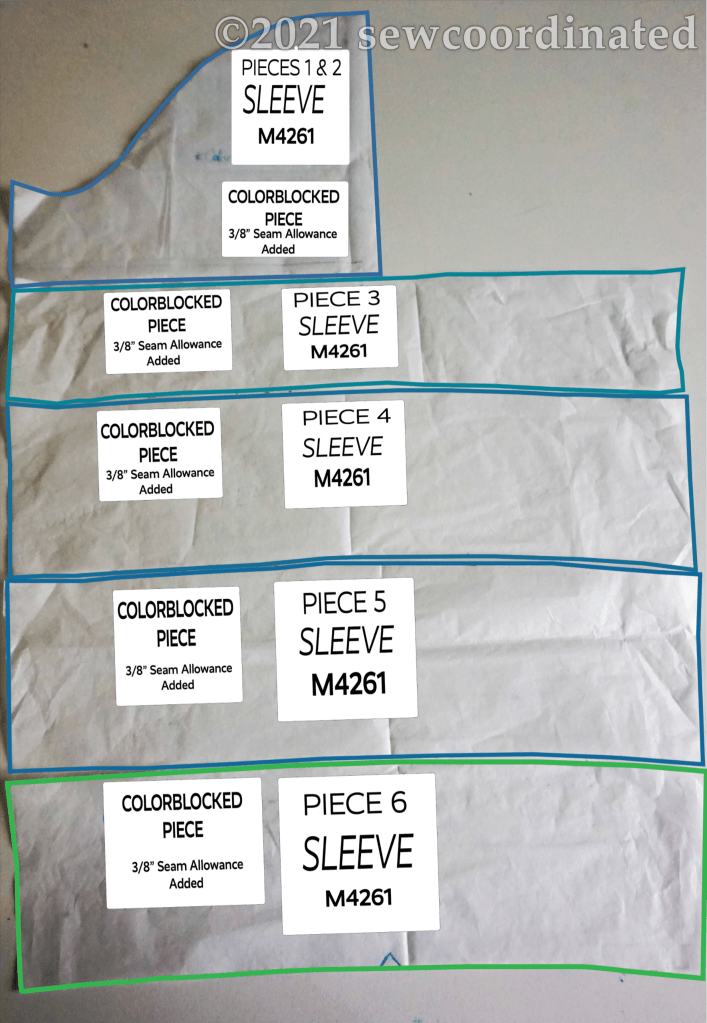
The sleeves are the final pieces I needed to construct before I begin assembling the jacket. They’ve also proved to be the most complex, mostly because of the dwindling supply of fabrics now that I’m on the final parts of the jacket. I had to block the sleeve caps in 2 pieces because of this. I just didn’t have a large enough piece of fabric from what I’d already used that would cover the entire cap. Here’s the layout I came up with:
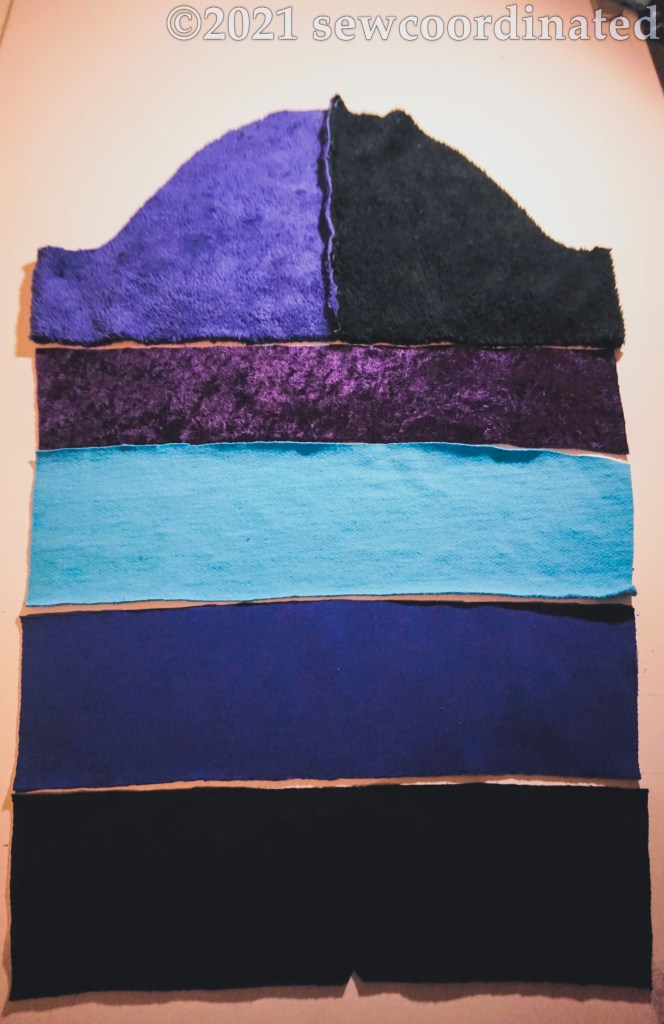
After I blocked the cap into 2 pieces I then came up with 2 different ideas for it. I dug up some stretch faux fur/rug/fleecy fabric and cut the caps out of that. Here’s how that idea looked:
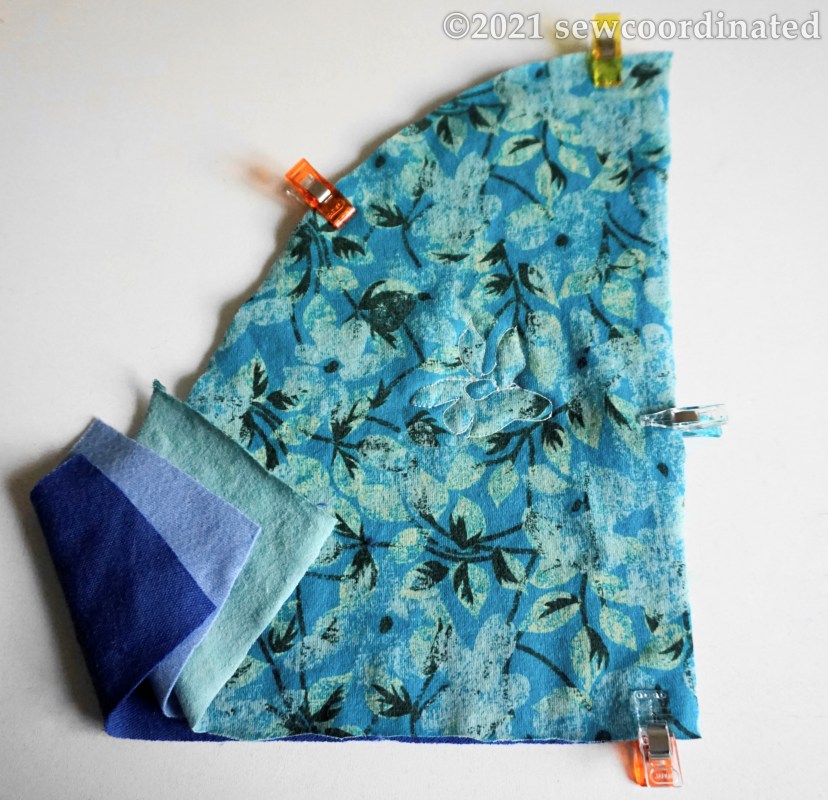
I had second thoughts about using that fabric for the cap. I hadn’t used that fabric anywhere else on the jacket. I decided to use the floral that I’d used on the side back panels. The hassle of using that is lining it because it’s so thin. I had to use 3 layers like I did on the back to have an equal balance of weight. It also had to be quilted like I did with the back, which took me quite awhile. Here’s how it looks:


After finishing the quilting it was time to assemble the entire sleeve. I placed an applique of the rose print fabric shown in Part 1 of this series on each sleeve. It was what I had left from a failed pocket attempt at the beginning of this project. I didn’t want them to go to waste, and luckily I was able to find a place for them:

Now that I have all the jacket pieces made, I can finally assemble the jacket. I feel both anticipation and caution at the same time. I ran into a problem when I noticed that the back was about an inch shorter than the front. I saw this when I practice pieced the sides together. I’ll reveal how I solved that problem in my next post, which will be all about the assembly.
To all my followers and readers here in the WP blogisphere: thank you, take care, and have a Merry Christmas and Happy Holidays 🙂
