Welcome to Part 2 of my Color Blocking Series. As explained in Part 1, my goal is to Color Block a jacket pattern using only scraps from my fabric stash, in this case knit fabrics.
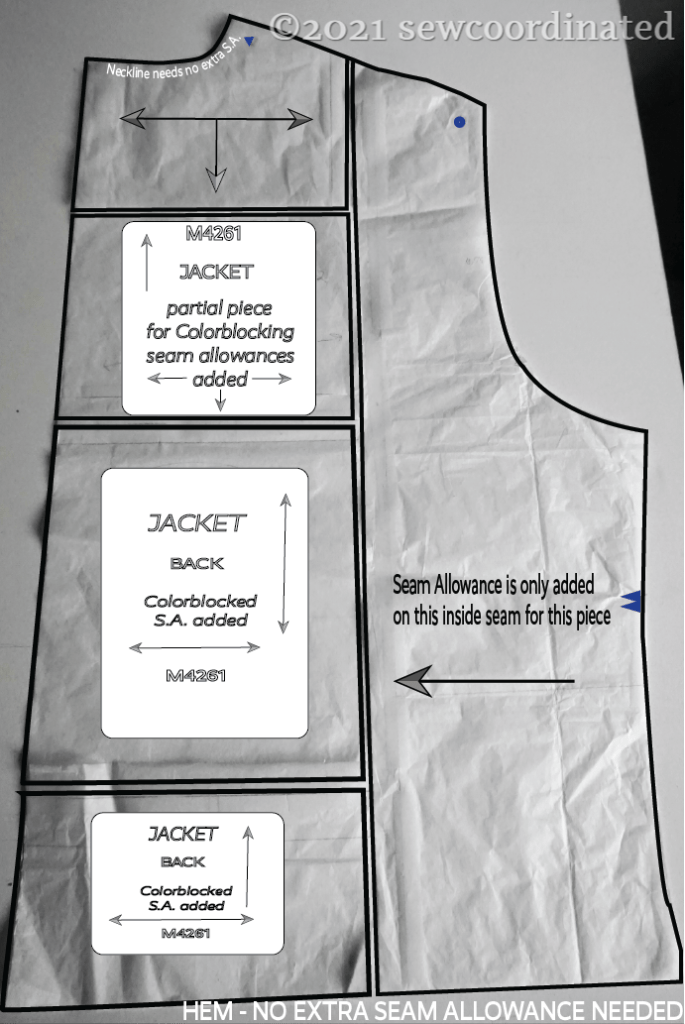
The next part of the hoodie to be constructed was the back. As always, I made a copy of the back (so as not to cut the original). I then cut the copy into the color block pieces. At this point in the making I chose to add the seam allowances as 1/2″ strips onto each block as needed. This proved to be more difficult than I thought because it’s hard to keep narrow strips of tissue paper straight while working with scotch tape. I later ditched this method and just redrew each block with the seam allowance. I found this method to be the best way, even if it seemed to take longer.
Here’s the block design layout:
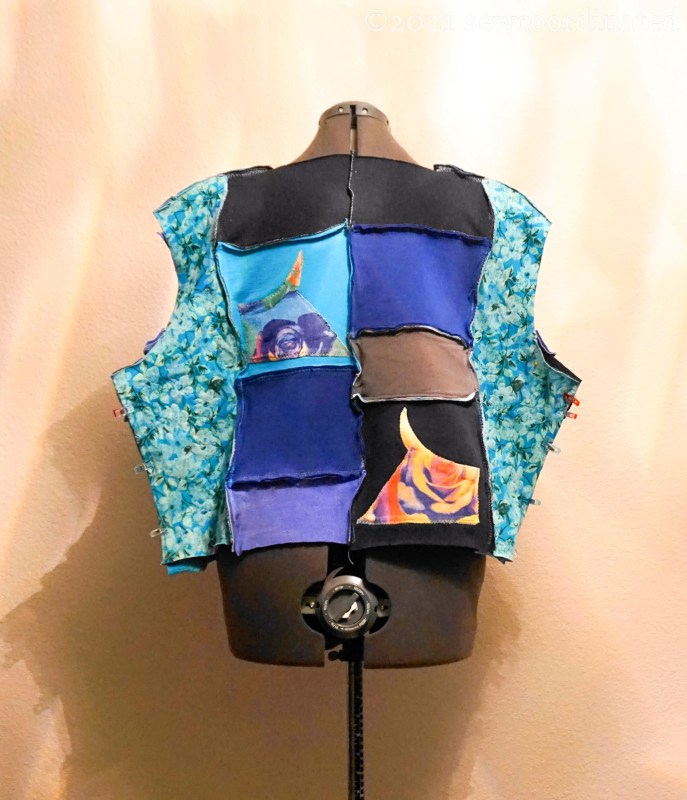
This design consists of 5 blocks per side, for a total of 10 blocks to make the jacket back.
Since the inner blocks are just that – rectangles with straight sides that all add up to the same height regardless of how they’re arranged, I decided to alternate the different sizes for variation.
Here’s how it came out:


Balancing Different Fabric Weights/Drapes/Textures: Techniques
Stashbusting on it’s face is a great idea, however when working with remnants that have differences in structure, there were problems that arose that I had to find solutions to. The only thing all the fabrics I worked with have in common is that they’re knit fabrics that have stretch. Beyond that, they have differences in weight, thickness, drape, and in the case of the rose print fabric, texture and extreme stretch.
To deal with the problem of thinner, floppier knits, I added more layers of plain knits from my stash, which I feel was a great idea to finally use them up without having to throw them out. I had a lot of plain light blue knit left from this garment, which I’d saved and didn’t know what to do with. Finally I found a use for it. All of the blocks on this jacket so far have 2 layers, and in the case of the floral side panels on the Back, 3 layers.
I discovered Wonder Web during the making of this jacket. It’s a fusible double sided interfacing that worked great at fusing the layers of the stretchier fabrics together. It gave them more smoothness and stability.
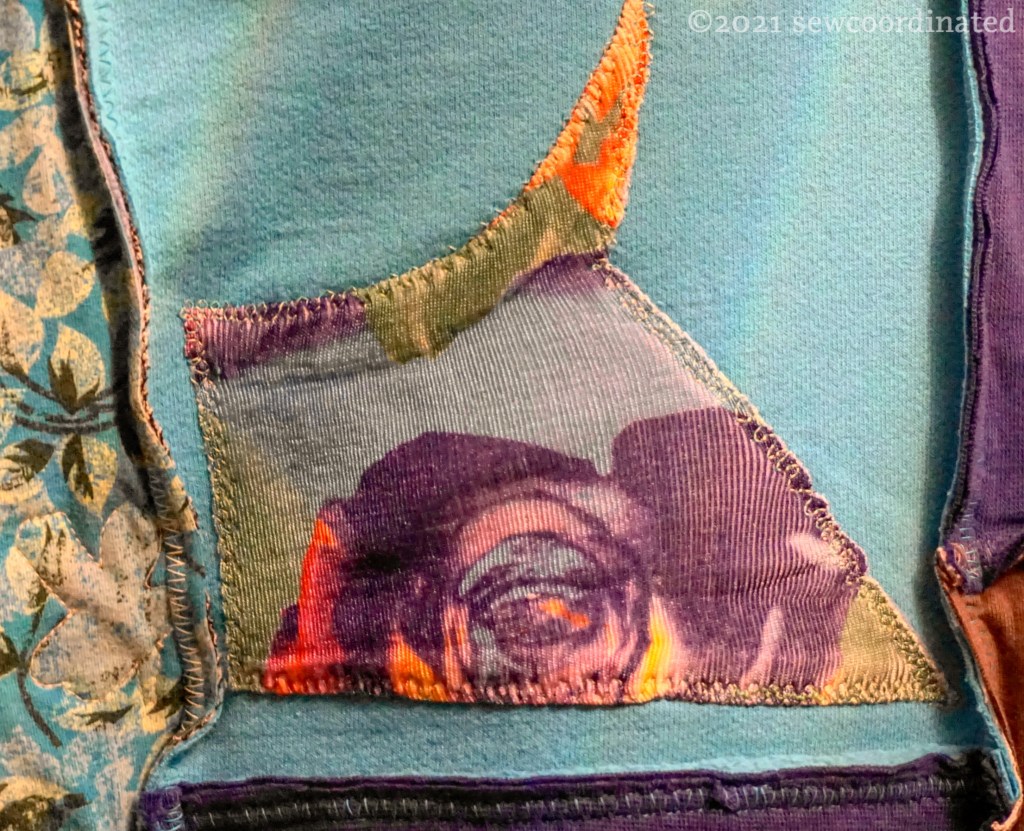
As you can see, if you read Part 1 of my series, I used some of the fancy rose print dress fabric as decorative patches over the 2 larger blocks. It’s a very slippery ribbed knit fabric with a floppy drape. I’d wanted to use it more, but the difficulty in handling and need for stabilization changed my mind. For the patches I used a backing layer with Wonder Web in between and fused. This made them stable enough to applique to the blocks.
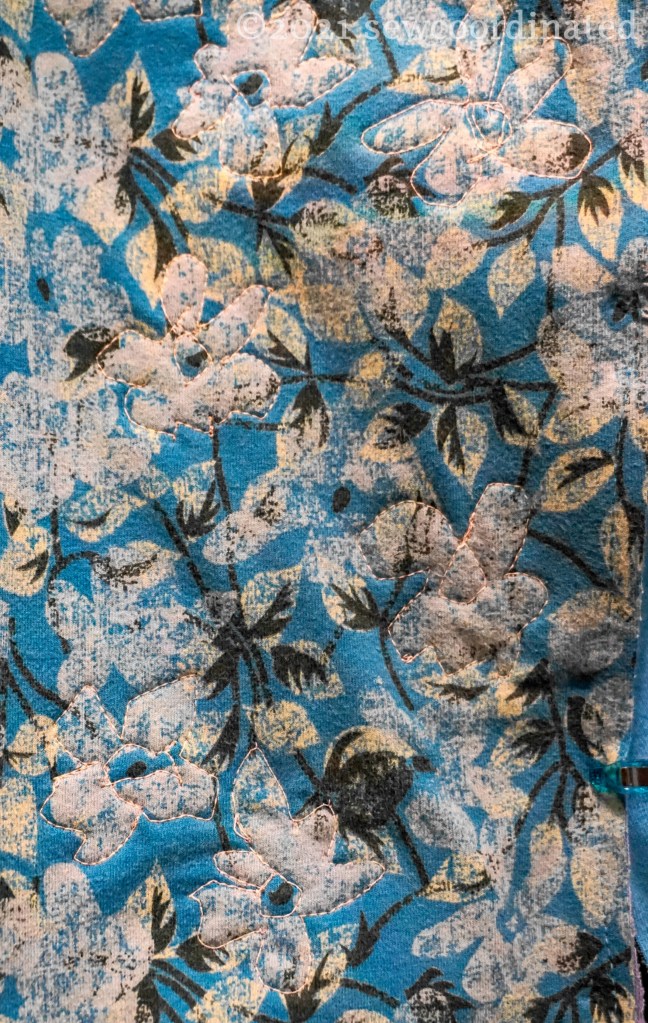
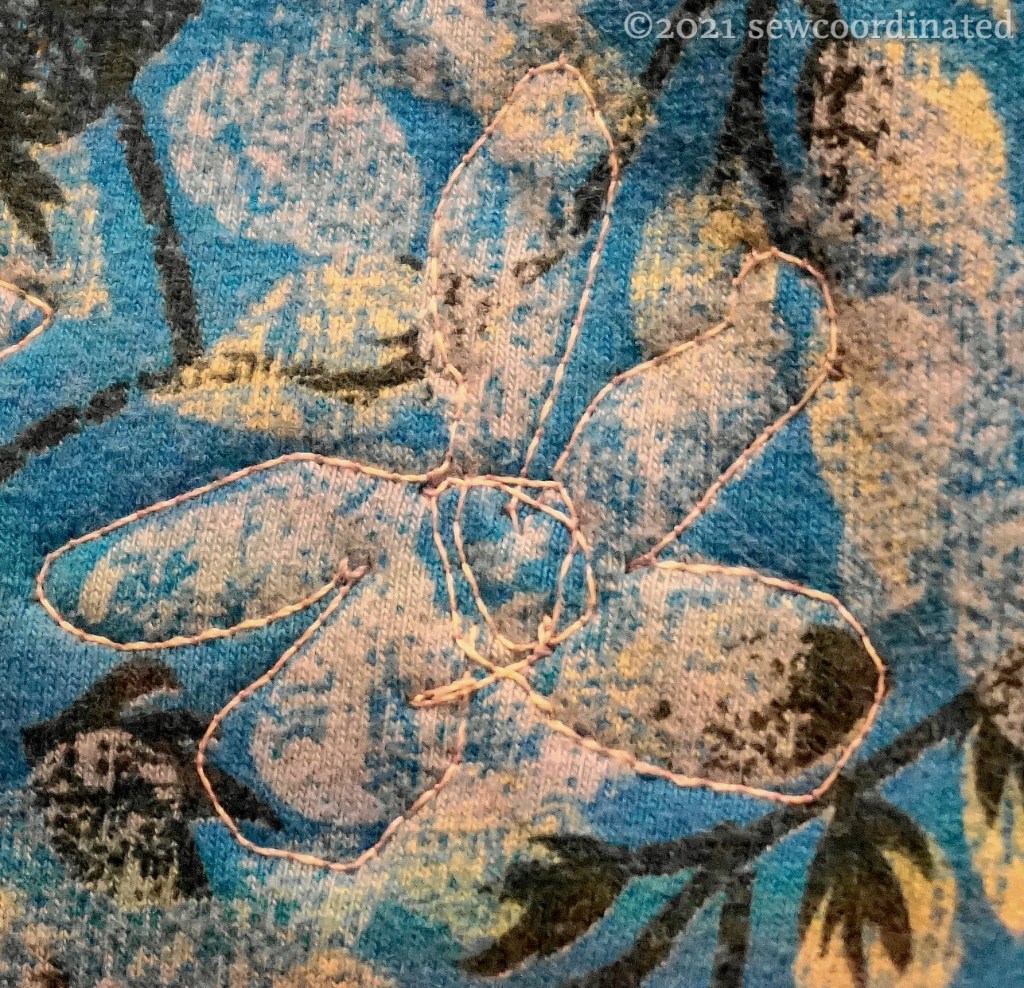
Another technique that I used to balance weights is machine embroidery. On the 3 layer floral side panels I needed a way to keep the layers tacked together to prevent fabric pooling and puckering. I used freehand machine embroidery to do this. I decided to stitch around the flower outlines, and I used glow in the dark thread for this! I don’t know if I’ll be able to get a pic of the flower stitched “glow” (it has to be charged under light first and viewed in the dark), but I know it’s there. Here’s a couple of close ups of one of the panels:
Here’s 2 close ups of the Rose patches:

And that about does it for this post on the M4261 hoodie/jacket Back. I hope you enjoyed it, and as always, take care and thanks for reading 🙂
