This post is the first in a series that documents my attempt at 2 things:
- Color-Blocking a Jacket Pattern, and
- Using nothing but scraps from my fabric stash to accomplish it
The inspiration for this idea came from my need for a new hoodie jacket, and my wish to reduce the bulging basket of knit fabric remnants and scraps in my sewing room. Having a pattern to work with also helped, this one: McCalls 4261, is OOP (out of print). I bought it oh… I don’t know when, and never used it until now.
I began this project all the way back in late May. I was thinking ahead to my Autumn wardrobe and knew it would take me awhile to complete a conceptual garment such as this. Turns out it’s taken longer than I thought, due to it’s complexity and the time I’ve needed to make decisions on it’s construction.
As I mentioned above, it all began with a wish to bust out my fabric stash. My workroom was looking more like a storage closet than a workroom. I knew why, and decided to begin with my knit fabrics basket, which really needed a break from the strain:
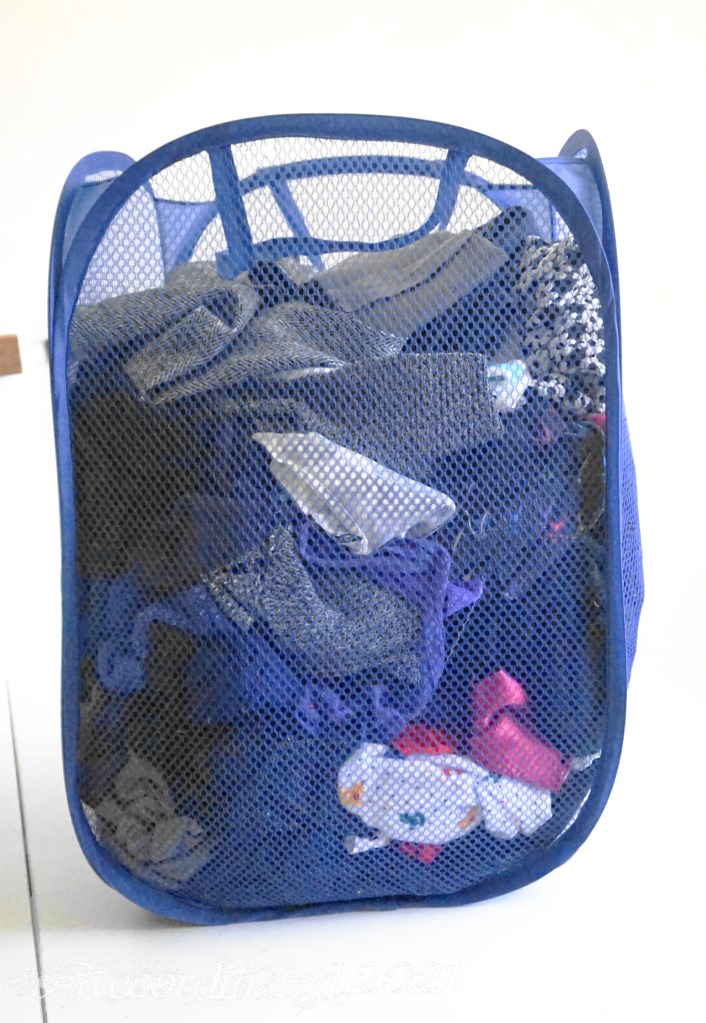
This is how it looked after I removed the fabrics I needed for my project. As you can see, it’s still quite full.
I began by choosing 2 sweatshirt fleece remnants that I’ve had for a long time. They’re from my Craigslist fabric haul back before I even started this blog! They’re pretty nice, but I got into save mode and didn’t want to use them up on just anything, so they sat, and I’m kinda glad they did, because this project ended up being a good use for them:

Both these remnants are roughly the same size: 2 long rectangles that are about the same height. These 2 pieces formed the foundation of my jacket concept. I hoped that there would be enough of both colors for each piece of the jacket.
Here’s the rest of the fabrics I selected:
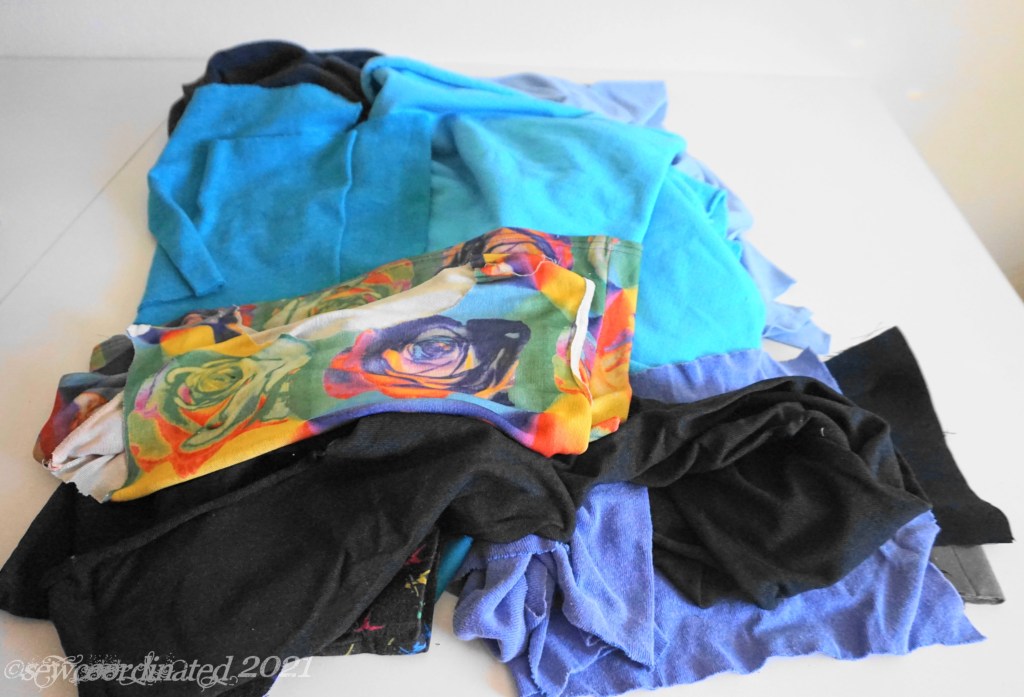
When selecting fabrics for this project, I had to consider the weight. This is an outerwear jacket, I’ll need it to keep me warm on cold days, so many of the knits in my basket didn’t make the cut. They were just too lightweight, designed for use as shirts.
I made an exception for the roses fabric you see above and below:
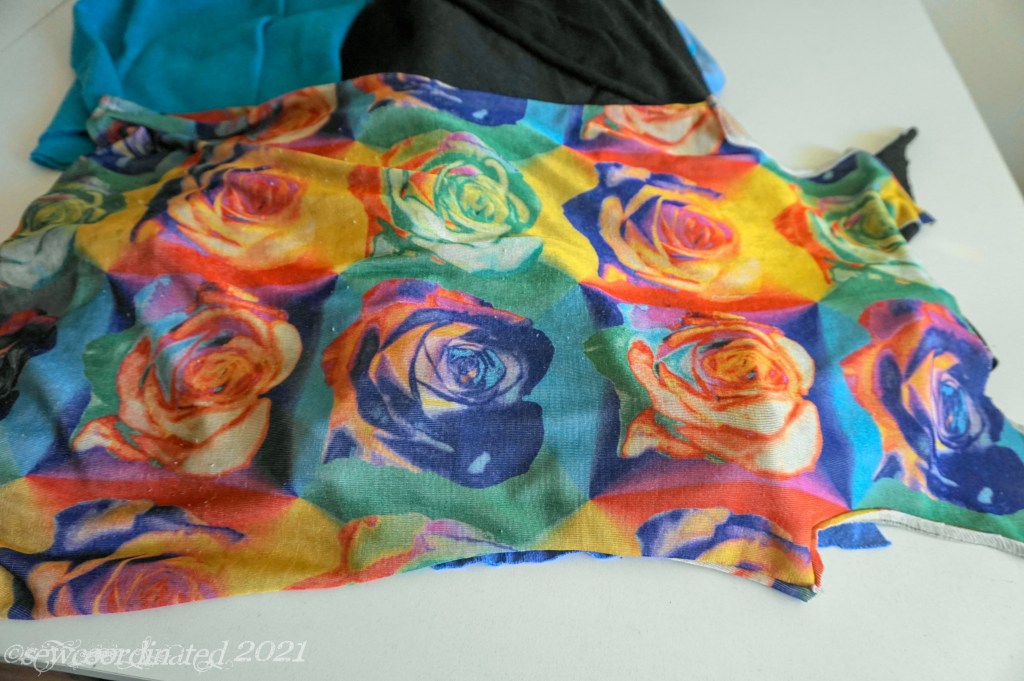
This fabric is from my daughter’s dress. It was too nice to throw out once she outgrew it. Isn’t that a beautiful print? Very Warholesque. It’s a drapey polyester with some weight to it. I had to add it in somehow, but it did prove to be quite difficult to work with. More on that in a later post.
What Color-blocking is in Sewing & Fashion Design
Color-blocking is a way of adding blocks of contrasting color to a design that doesn’t already have it, by cutting the pattern into blocks for the desired design, and adding extra seam allowances to make up for the difference in each cut. The contrasting pieces are then sewn together to create a new, color blocked, look.
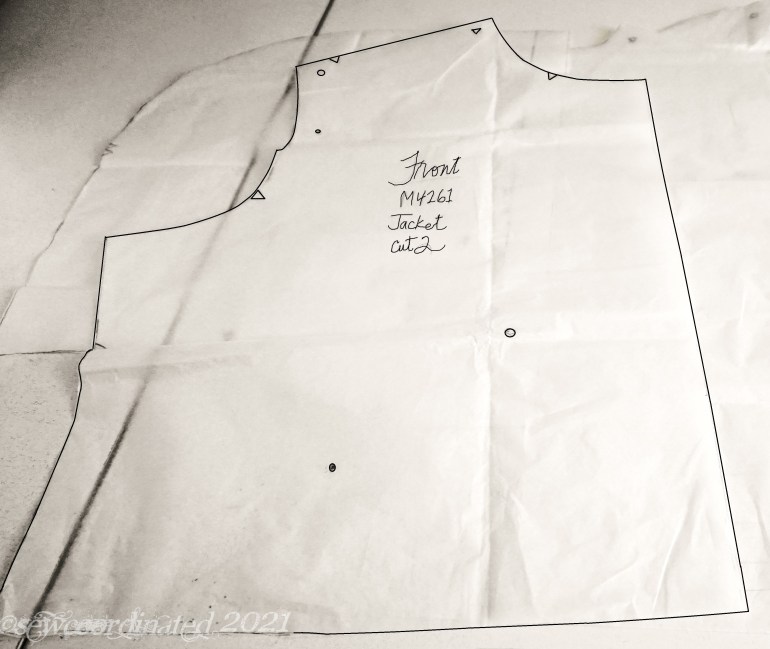
I began with the jacket front. I copied the piece onto tissue paper because I didn’t want to cut up the original:
I then drew out my design onto a fashion croquis:
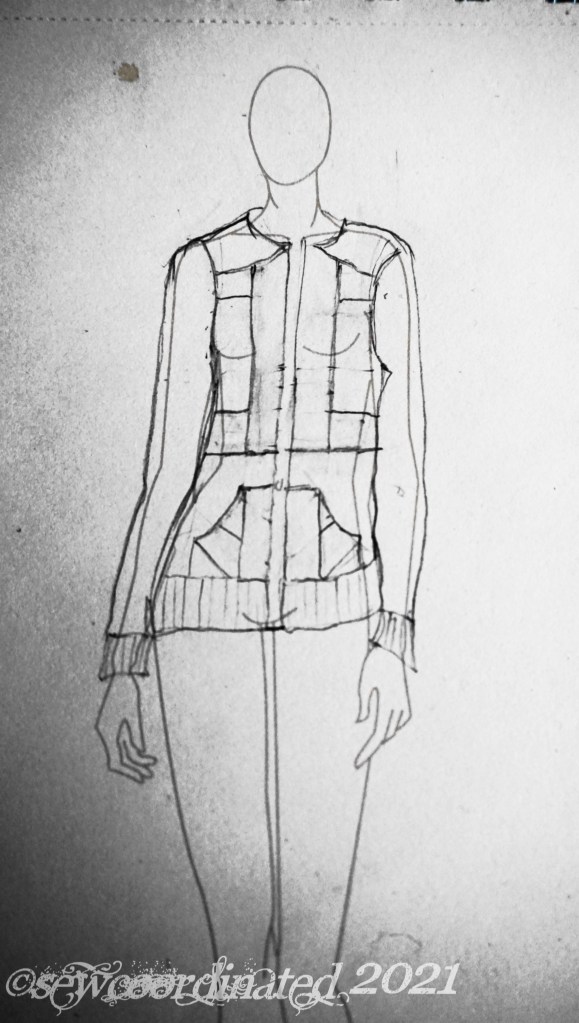
The pockets I drew in the above pic were a lot more complex than what I did on the actual garment. I went with a 1 piece pocket after much deliberation.
I then went about cutting the copied pattern front into color blocked pieces according to my drawing, although I did veer from my drawing a bit as you’ll see in the next pics:

Do you see what I changed? Here’s a close up of the front with more details:
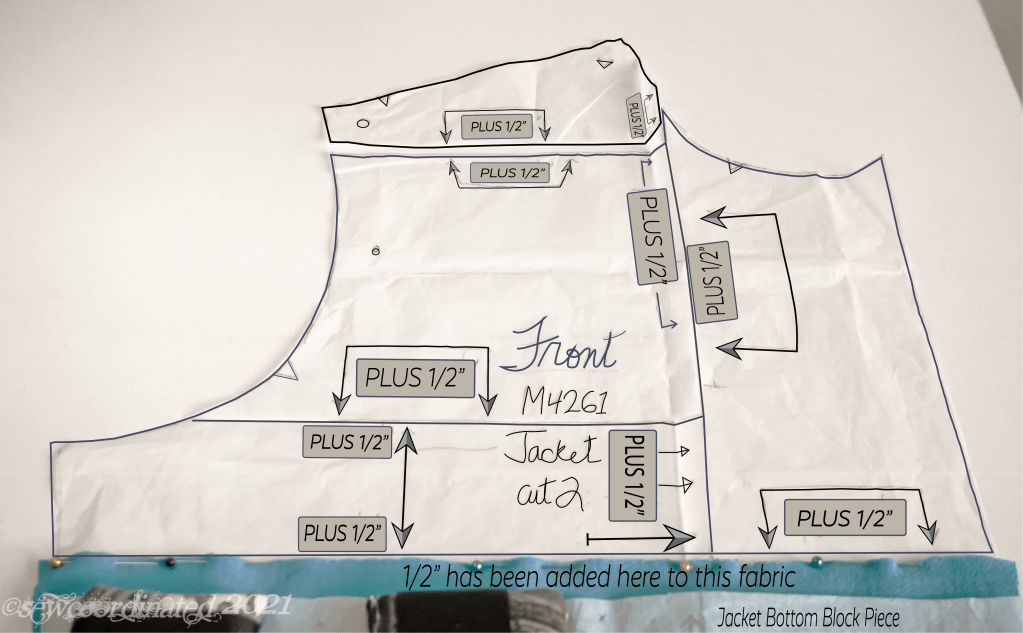
As I mentioned earlier, there has to be a new seam allowance added for every cut made that isn’t a part of the original design. This is a lot of work with this many blocks. At first I added the seam allowances by placing the block piece over the fabric, measuring the seam allowance. and cutting. This worked ok for the larger bottom piece, which is a basic square shape, but it was difficult and inaccurate with the smaller pieces that have curves and more than 1 side requiring a new seam allowance. I solved the problem by redrawing the cut pattern blocks with the added seam allowances. This meant doing 3 drawings:
- A copy of the original pattern block
- A cut up version of the copied pattern into the color blocked design, and
- A copy of each color block with seam allowances added where needed
This method was more work but less errors and aggravation, which are time wasters in the long run. It really is the way to go for accurate color blocking.
A few words about the pattern, M4261:

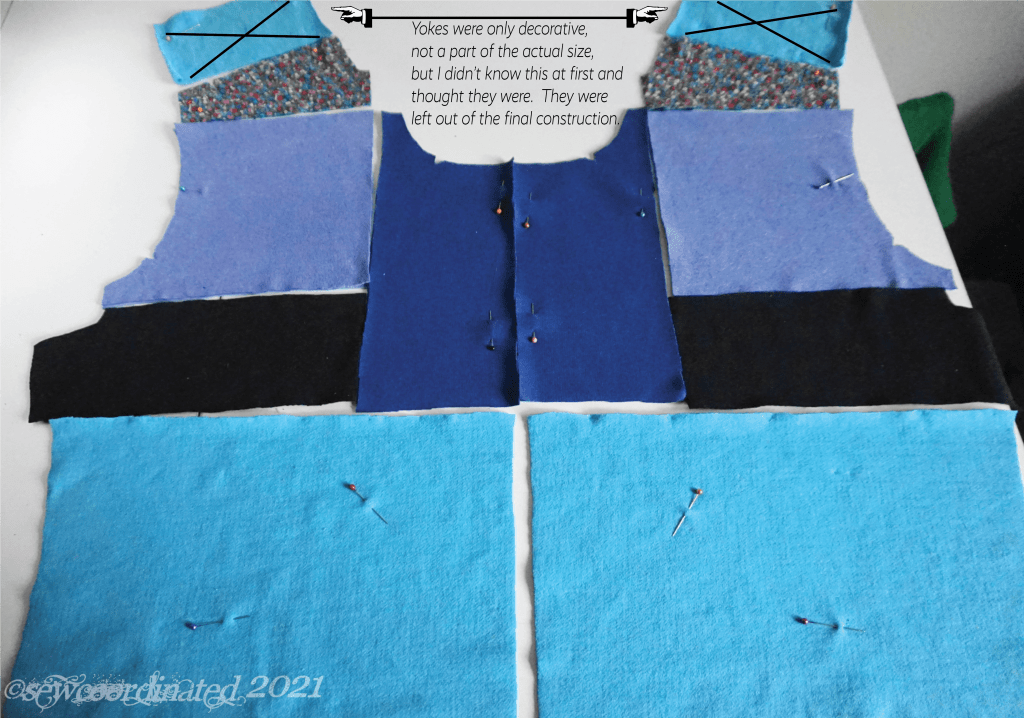
This jacket pattern is designed to be sewn with the seam edges facing outward. I realized it when reading through the sewing directions, which made me finally take a glance at the envelope, which mentioned it, and then yeah, the sketch looks that way. Turns out it’s great for color blocking for that reason, although I’m still undecided about the zipper installation. I might sew the seams inward for that because I don’t want the zipper to catch on raw edges, and I think it might look too busy with all the other raw edges of the color blocks. I also eliminated the decorative yoke pieces on the shoulders that were designed to be a raw edge overlay. I thought they were part of the jacket fit, but they weren’t.
So without further adieu, here’s the color blocked fronts:
I did line most of the non fleece fabrics, in an effort to match their weight to the weight of the fleece pieces. This was of course more cutting, but it also uses up my knit stash, and wasn’t too difficult once I had the color blocked pattern pieces drawn.
Alright, that was a big post! I hope you liked it, and as always,
take care and thanks for reading 🙂
